Home Design & Remodeling
Design Your Dream Home Today!
Create fun and easy designs for any house project. Build realistic 3D models for your home design or interior design using automated building tools. Visualize your new dream home today with Home Designer.
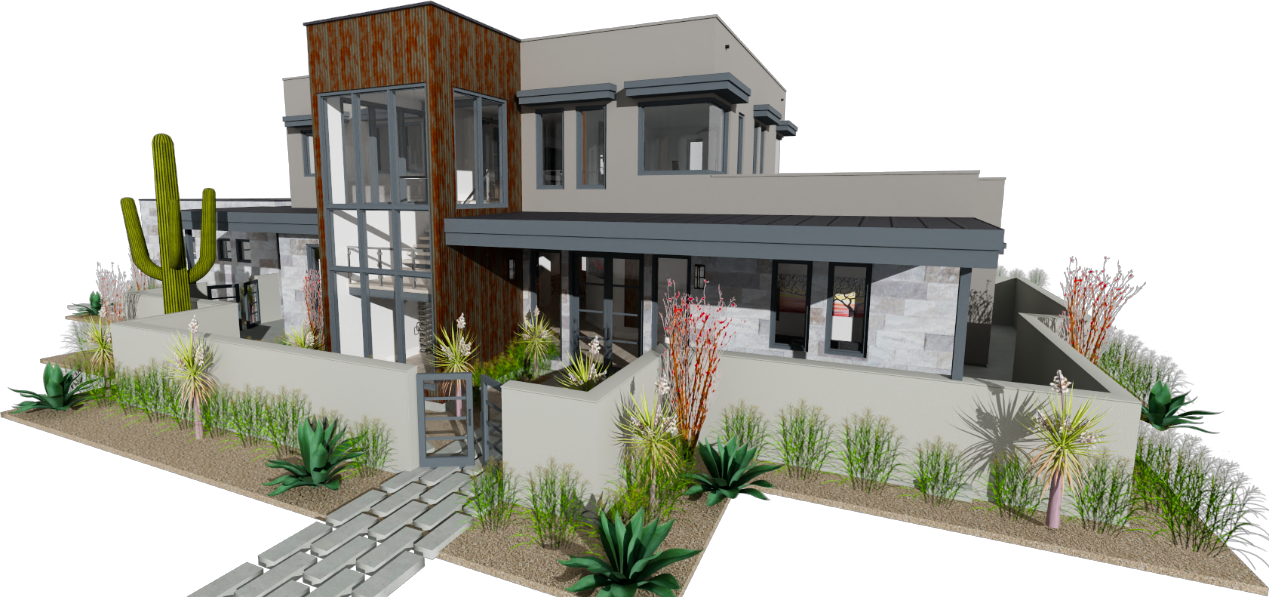
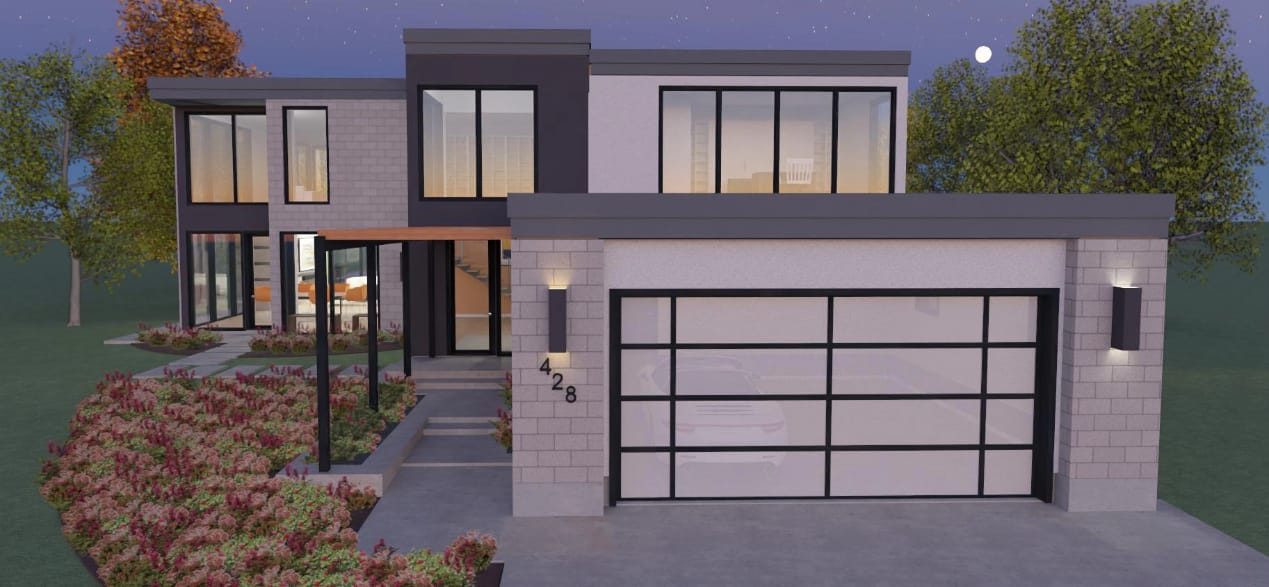
3D Home Design Tools
Create a 3D model that can help to visualize your home projects. Create realistic views with materials, textures and colors. Choose from Day or Night views, Framing, Doll House and Glass House views to see your design from every viewpoint.
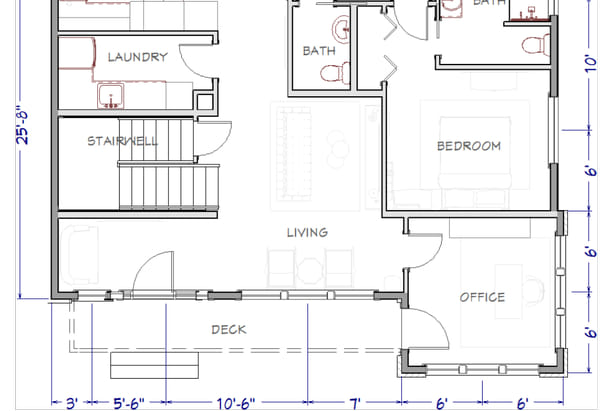
Floor Plan Design
Quickly place and arrange walls, windows and doors to create accurately scaled floor plans. For new plans, select pre–designed Home Design and Landscaping Style Templates or use the House Assistant to lay out your rooms. Download editable sample plans for design inspiration.
Automated Home Building Tools
With Automated building tools, any time a wall is moved the roof, framing and foundation automatically update.
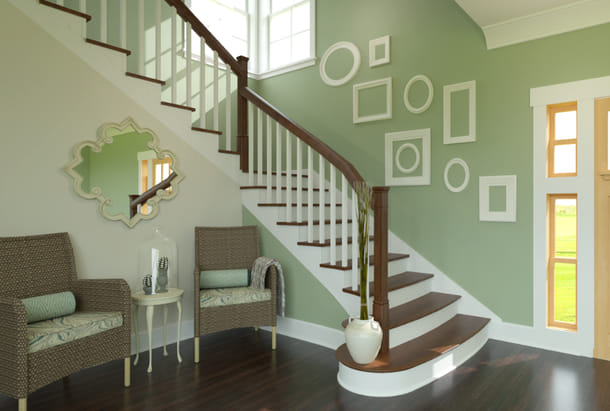
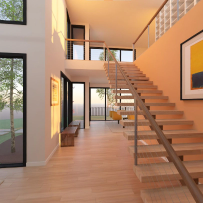
Stairs & Ramps
Home Designer's stair tool can create straight, curved, split stairs and ramps with defaults typically used in construction. Customize the number of stair sections, tread height and railing style. An automatic stairwell creates a stair opening between platforms.
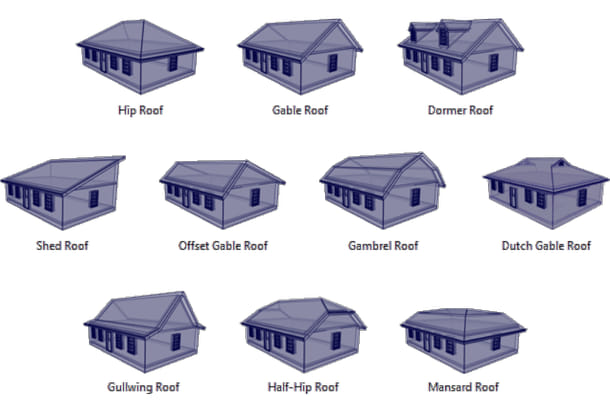
Roof & Ceiling Tools
With Automatic Roof and Ceiling tools, you can create the style that's right for your home. The software automatically creates flat ceilings once the roof is generated and you can create a variety of styles including vault, tray and coffered. Home Designer includes manual roof and ceiling tools where you can create and edit individual roof and ceiling planes.
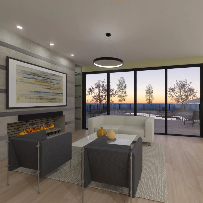
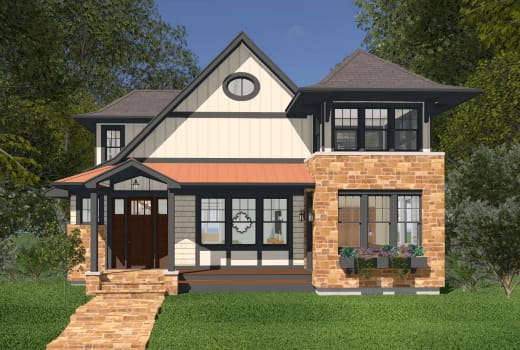
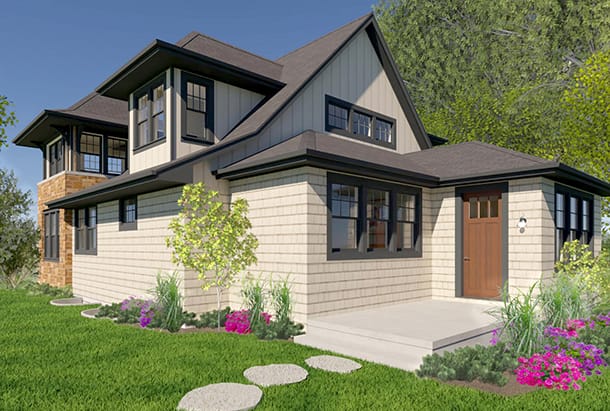
Visualize Your Project Before You Begin Remodeling
With Home Designer it is easy to lay out your floorplan, re-arrange walls, add a new room, update doors, windows and more. Customize your materials, fixtures, cabinets and appliances to suit your needs and see your designs come to life.
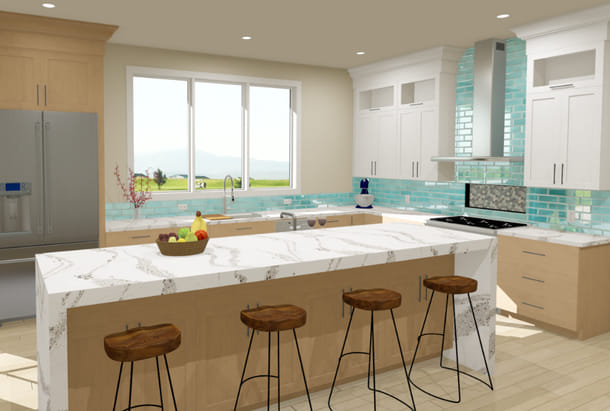
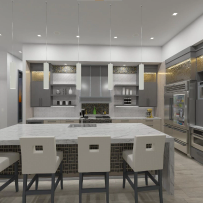
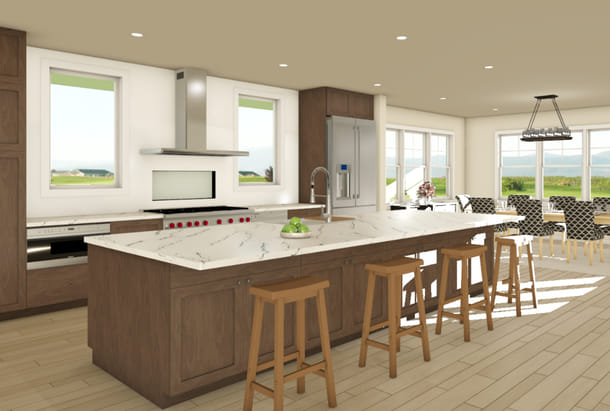
Kitchen Remodeling
Design the Kitchen of Your Dreams! The secret to a great kitchen design is good planning and design. Create thousands of cabinet combinations with the Cabinet Designer tools. Change countertops, add a kitchen island, fixtures and appliances – it's easy to plan your perfect workspace.
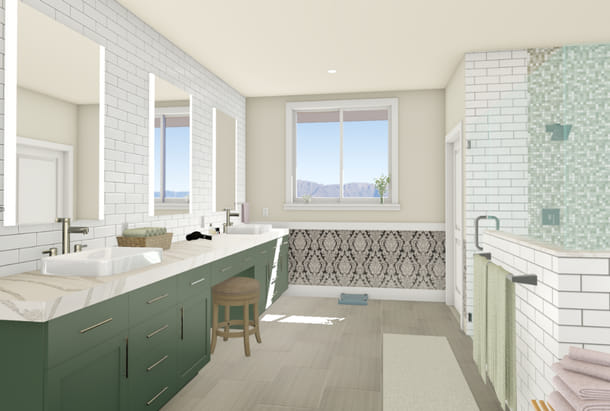
Bath Remodeling
Remodeling your Primary Bath? Use Home Designer to visualize before you begin your remodeling project. Experiment with cabinets, flooring and fixtures using a built-in architectural Library catalog. Visualize your new bath remodeling project today!
Experiment & Plan Your Rooms
Create an addition to your home with powerful software building tools. Draw your walls and see the model in 3D. If you change the size of the room, you can immediately see the updated materials list to estimate your costs.

Cost Estimating & Materials Lists
What will my new home or remodeling project look like and how much will it cost? Home Designer knows! The program retains all the information on each element such as doors, windows, cabinets, framing, and concrete, and automatically adds it to the materials list in spreadsheet format – making it easy to estimate costs.
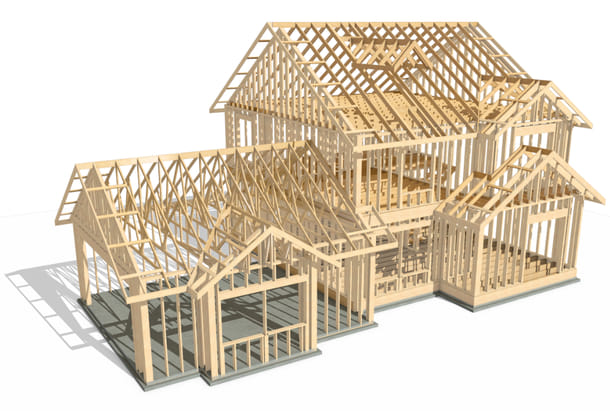
Automatic & Manual Framing Tools
Use the framing tools to automatically create the structure for your design. For each room, define floor and ceiling heights and the platform dimensions – framing will automatically update. Visualize framing in 3D. Every framing member, including decking, is automatically added to the materials list. Manual framing tools are available in Home Designer – great for custom framing.
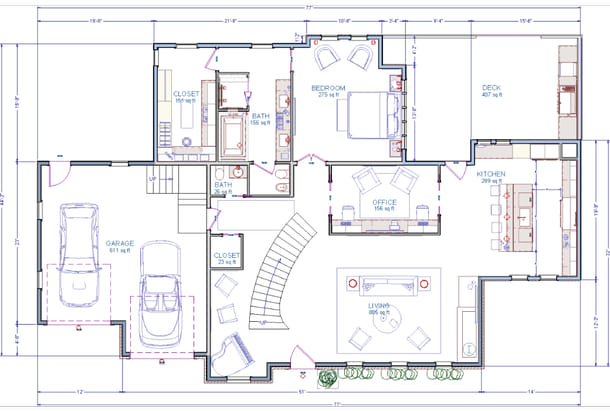
Dimensioning Tools
Create accurately scaled floor plans and elevations complete with dimensions. One–click automatic dimensions can create both interior and exterior dimensions – great for construction details.

3D Viewer Models
Export your Home Designer model and view on phones, tablets or the web. 3D Viewer models are interactive virtual reality models. For mobile, download the free Chief Architect 3D Viewer app — available for Apple or Android devices. 3D Viewer models can also be viewed from a web browser — Learn How.
360° Panoramas
Save 360° panoramic renderings of your home designs. View the samples below or load your own!