Outdoor Living, Decks & Landscapes
Great Landscaping Makes a Great Home!
The secret to great landscaping is to combine good planning and design before you begin. Whether you have a new home or an existing landscape, you'll find valuable resources to create a well-planned outdoor living space with our deck and landscaping software tools.
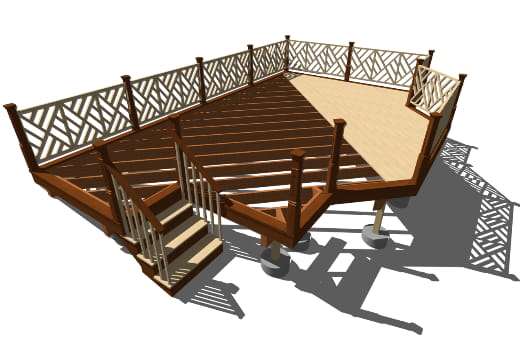
Patio & Deck Software Tools
Design your new deck or patio with the deck designer tools. Automatically generate a materials list or create cut and buy lists. Choose options for deck roofs, foundations, framing, deck planking and railing styles.
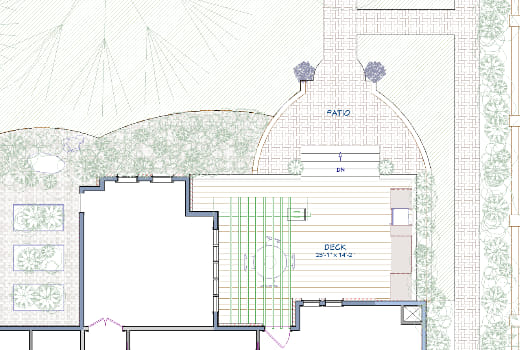
Terrain & Site Planning Tools
Create flat, sloped or irregularly shaped lots. Define the lot shape, elevation and contours with powerful terrain modeling tools. Show your lot setback requirements, roads and sidewalks for neighbors or building professionals.

Outdoor Kitchens
Outdoor kitchens are one of the most popular trends today and creating yours can be easy. Choose from name-brand appliances and furnishings from the architectural 3D Library to create realistic outdoor living areas.
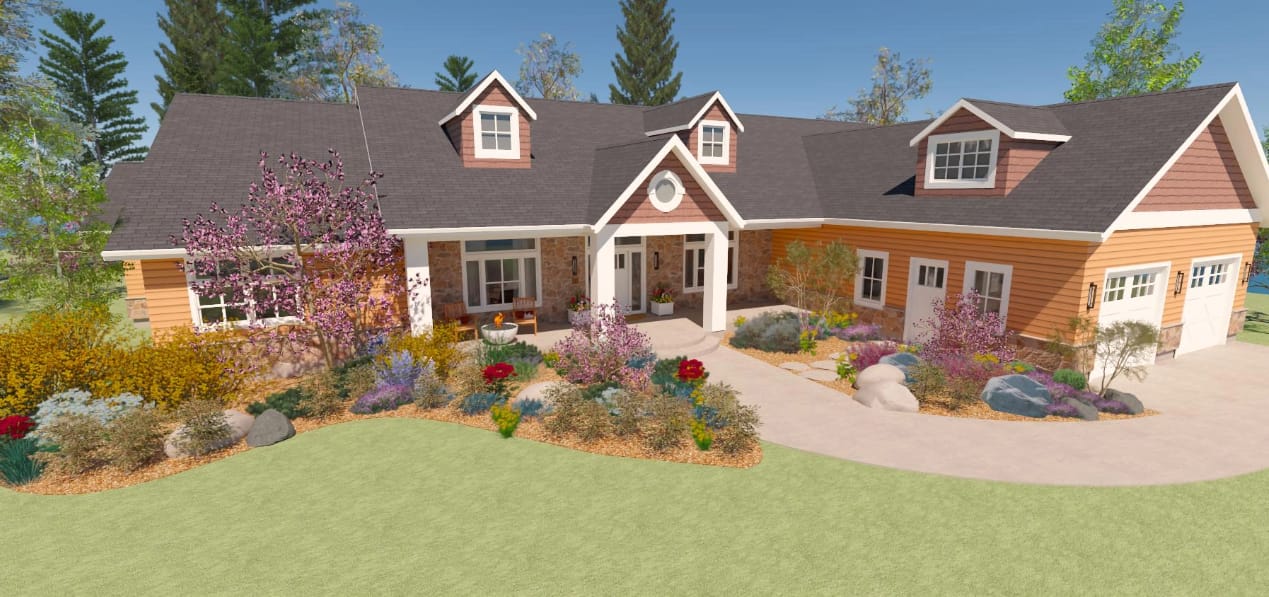
Create Beautiful Landscapes
Create the landscape you have been dreaming of. Plan and design your outdoor living space with terrain features, gardens, and plants that allow quick and easy customization so you can visualize your finished yard in 3D.
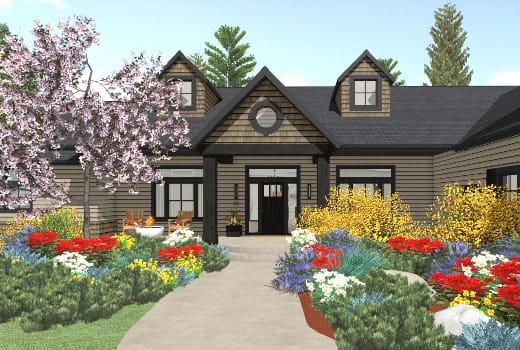
Over 3,600 Landscaping Plants
Choose from over 3,600 botanically accurate flowers, trees and shrubs - from tropical to desert. Use the Plant Chooser for detailed plant information including hardiness and growth. Use Pre-Arranged landscaping beds from the 3D Library to quickly add visual appeal to your designs.
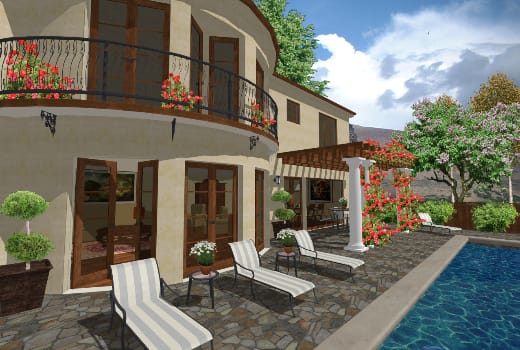
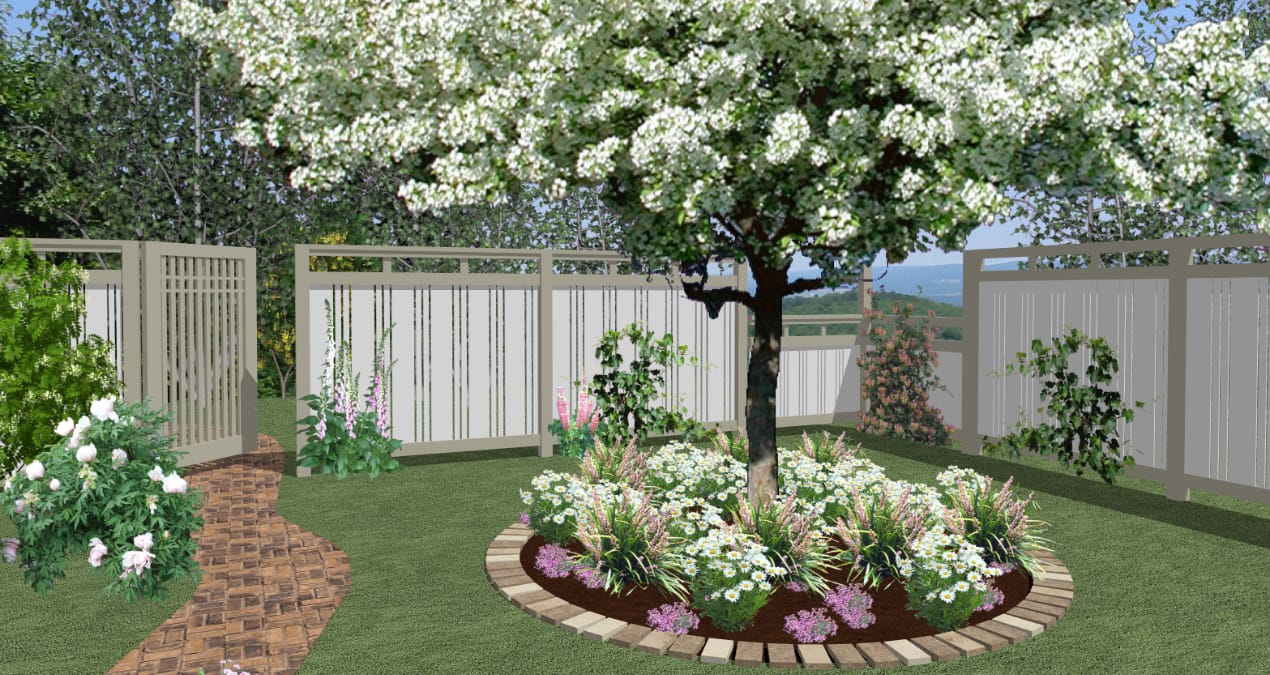
Pools, Ponds & Pathways
Create gardens, pathways, patios and ponds for the perfect landscape. Driveways and sidewalks will automatically follow your terrain contours. Insert water features with Stream and Pond tools. With landscaping, use the Grow Plants slider feature to see future plant growth.

Visualize Your Outdoor Living Space
See your outdoor living area with realistic sun shadows using your specific location including the time of day—from morning to evening—and get a complete year-round view of your design.