Extending a Roof Plane Over a Bump-out
Reference Number:
KB-00388
Last Modified:
September 7, 2022
The information in this article applies to:

QUESTION
I have a bump-out in my plan, and I want the roof to extend down over the bump-out. How can I accomplish this task?

ANSWER
A roof plane can extend over a bump-out. This can be done by changing the side walls of the bump-out to be Full Gable Walls and changing the front wall to use Extend Slope Downward setting.
To create a basic plan with a bump-out
- Launch Home Designer and start a New Plan
 using the default style template.
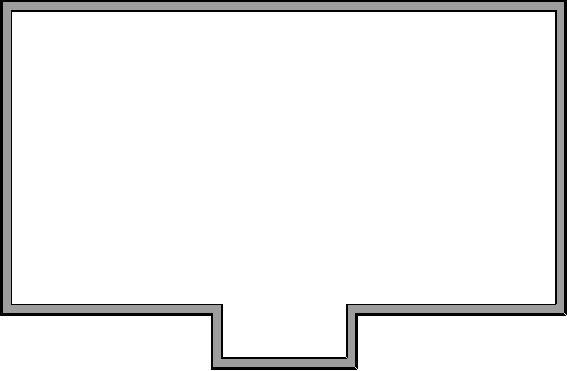
- Next, select Build> Wall> Straight Exterior
 wall, and create a basic structure with a bump-out, as shown in the image below.
- If the Auto Rebuild Roofs setting is not enabled, select Build> Roof> Build Roof
 from the menu, then click OK.
In Home Designer Pro, make sure to check the Build Roof Planes box before clicking OK.
- Select 3D> Create Camera View> Perspective Full Overview
 .
.
In Home Designer Pro, navigate to 3D> Create Perspective View> Perspective Full Overview instead.
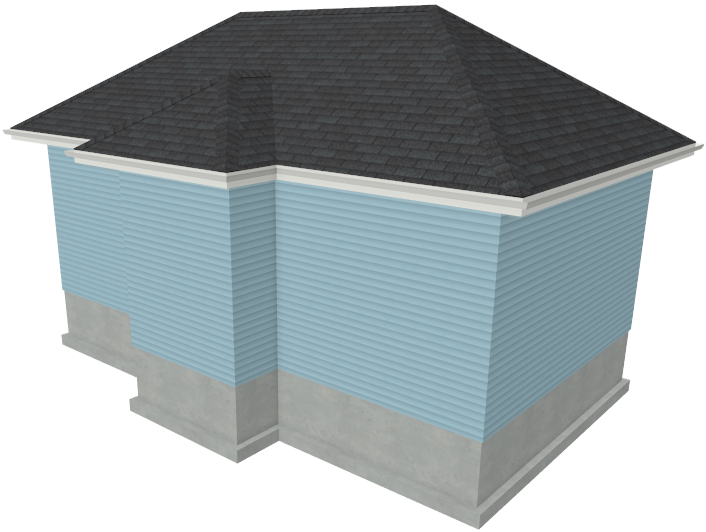
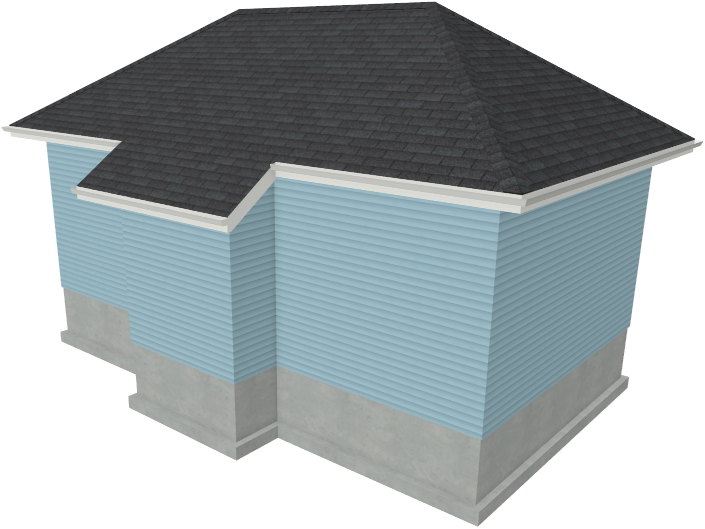
As we can see in the image below, the resulting roof is a hip over the bump-out area.
- Select File> Close View to close the camera view and return to your floor plan.
To extend a roof plane down over a bump-out
- Using the Select Objects
 tool, select the front wall of the bump-out, then click the Open Object
  edit button.
- On the Roof panel of the Wall Specification dialog that opens, select Extend Slope Downward to extend the main structure's existing roof plane downward over the bump-out, instead of creating additional roof planes.
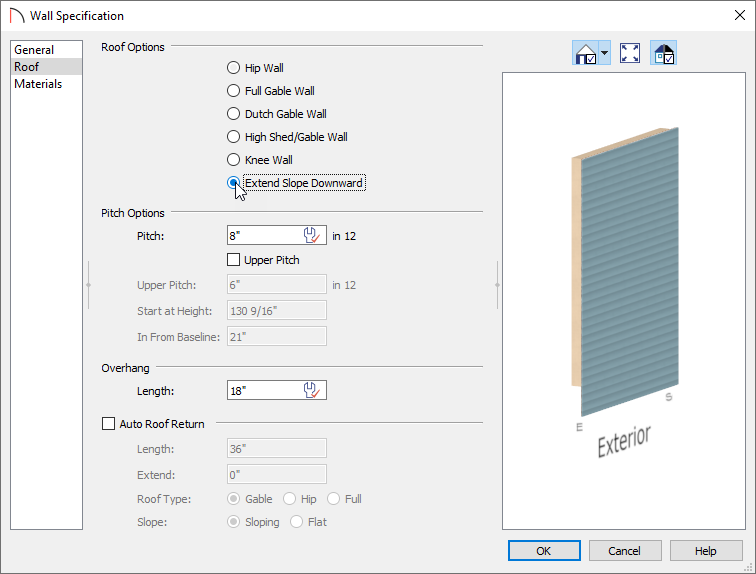
- Click OK.
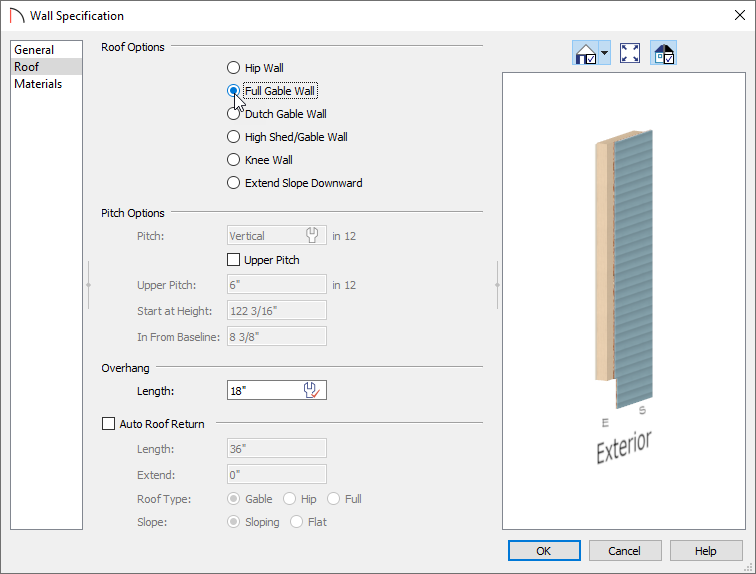
- Next, both of the two connecting walls that create the bump-out must be labeled as Full Gable Walls, as shown in the image below.
- If the Auto Rebuild Roofs setting is not enabled, select Build> Roof> Build Roof from the menu, then click OK.
In Home Designer Pro, make sure to check the Build Roof Planes box before clicking OK.
- Select 3D> Create Camera View> Perspective Full Overview to see the results.
In Home Designer Pro, navigate to 3D> Create Perspective View> Perspective Full Overview instead.
Now that you understand this process, you can take this knowledge and apply it to your own designs.
Related Articles