Adding a Decorative Crown Molding to a Room
Reference Number:
KB-00541
Last Modified:
July 14, 2021
The information in this article applies to:

QUESTION
I want to add a decorative crown molding to my rooms. How can I do this?

ANSWER
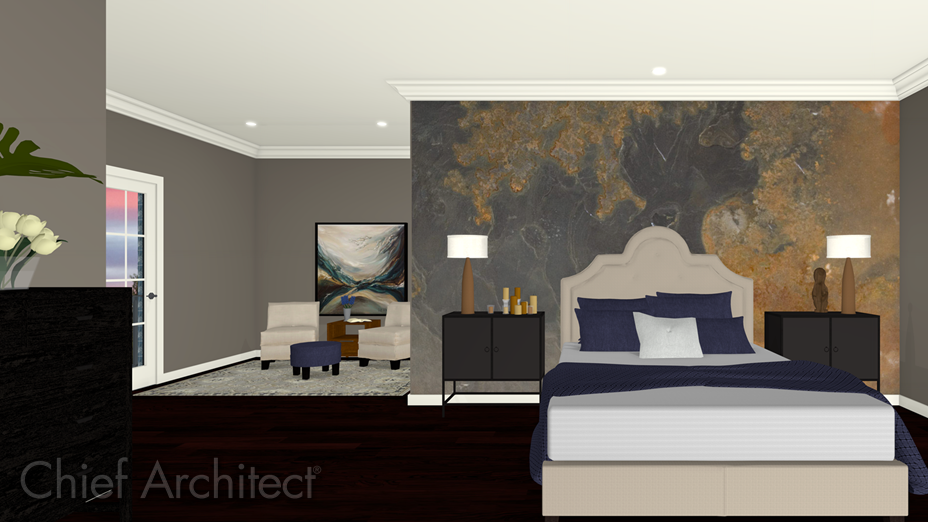
Crown molding is not included in all of the template styles by default, however, you can set up your defaults so that when you create a new room, crown molding will be automatically placed.
To add crown molding
-
Open
 the plan you want to add crown molding to.
- select Edit> Default Settings
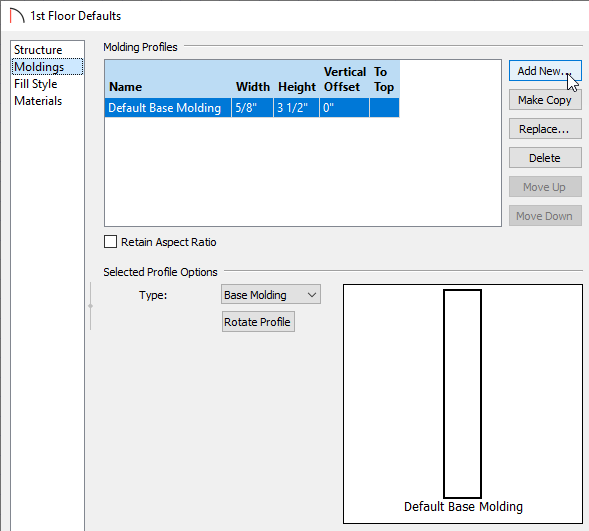
 , expand the Floors and Rooms category, expand the Floor Levels subcategory, select the Floor you'd like to modify, then click Edit.
- On the Moldings panel of the Floor Defaults dialog that opens:
- Click Add New to add a new molding profile.

Note: In the default template there is only a Base Molding specified for new rooms. You can also apply additional Crown, Chair Rail, and Base Moldings on a room-by-room basis in the Room Specification dialog if, for example, you wanted to have different moldings in your Living Room than the Kitchen or Bath areas.
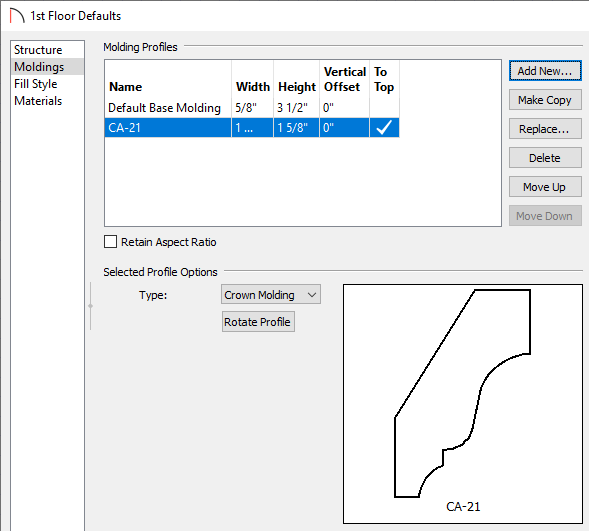
- In the Select Library Object dialog, navigate to an appropriate molding profile, then click OK.
- Click Add New to add a new molding profile.
- In the Molding Profiles section, set the Width, Height, and Offset values, if necessary.

- Verify that the Type is set to Crown Molding, then click OK.
In Home Designer 2022 and newer versions you can also click on Rotate Profile to rotate the molding 90 degrees counter-clockwise if it is not facing the direction you want.
Now, any new rooms you create in this plan will have the Crown Molding you have specified. As mentioned above, you can also add different molding profiles to individual rooms if you desire. This is recommended for any rooms that have already been established in the current project.