Using the Technical Support Center
The information in this article applies to:


QUESTION
I need to submit a support case or ticket to Chief Architect Technical Support. How can I do this?
ANSWER
The Technical Support Center allows you to communicate securely and directly with a member of the Chief Architect Technical Support team and send or receive any plan, layout, or other file that may be needed in order to best help resolve your issue.
If you haven't done so already, we would encourage you to first search the Knowledge Base for Chief Architect or Home Designer, the Chief Architect or Home Designer online tutorial training videos, and the threads on the ChiefTalk or HomeTalk user forums, since most questions on how to use the software, as well as resolutions to common technical issues, can be located by searching these resources.
This article outlines how to do important tasks in the Technical Support Center so that you can use it effectively:
To access the Technical Support Center
- Navigate to https://accounts.chiefarchitect.com/
You can also get to this page by clicking the My Account link in the upper right corner of the Chief Architect or Home Designer webpages.
- Sign in with the e-mail address and password you used to purchase the software.
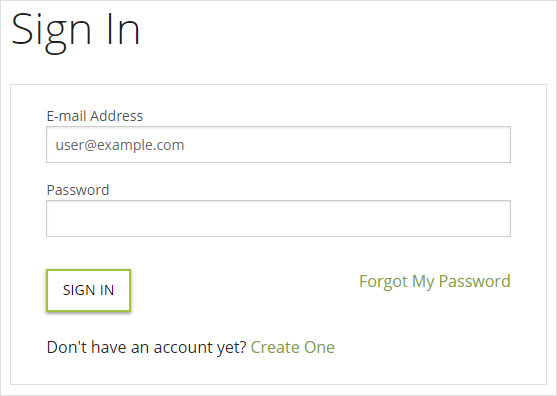
- If you do not remember your password, use the Forgot My Password link to have your password reset.
- If you're using a Trial version, or have not yet purchased a Chief Architect product, click the Don't have an account yet? Create One link to create a Chief Architect Account.
- If you do not remember your password, use the Forgot My Password link to have your password reset.
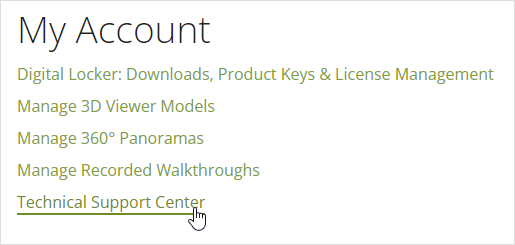
- Once logged in, click on the Technical Support Center link.
To submit a new support case
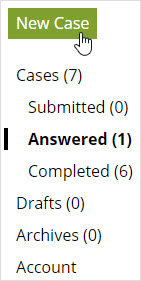
- Click the New Case button to start a new support case.
- At the top, choose the Product that you need assistance with and enter the Product Key.
Note: If you don't see your version listed here, your product may no longer be eligible for support. Please see the Support and Customer Service page if you'd like to purchase a paid support case or would like to look into your upgrade options.
- In the Step 2 - Type a short Subject field, type a short, but descriptive summary of the problem you're encountering.

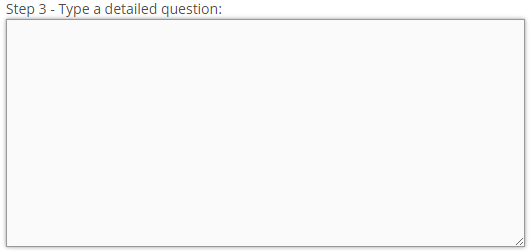
- In the Step 3 - Type a detailed question box, type your question or a description of your issue in as much detail as possible.
- Include the exact wording or any error or warning messages that you're receiving.
- Provide detailed, step-by-step instructions on how to reproduce the error or incorrect functionality that the program is exhibiting.
- If you suspect that the problem may be related to your system, be sure to include the version of Windows or Mac, the video card, and any other relevant information on the computer.
- Include the exact wording or any error or warning messages that you're receiving.
- If you want to attach one or more files to your support case, click the Browse button below the text box.
For instructions on attaching a file, see the To attach a file to a support case section below.
- When you're finished, confirm that all fields are filled in and then click the Submit Case button at the bottom of the form.
Chief Architect Technical Support strives to answer all Technical Support Center cases within two business days; however, they are often able to answer a case within standard business hours.
When your case is answered, you will receive an email letting you know. Simply sign back in at your convenience to read the reply.
One of the benefits of using the Technical Support Center to contact Chief Architect Technical Support is that you can attach files to your cases, which are often very helpful for answering questions and troubleshooting problems.
To attach a file to a support case
- If you want to attach a copy of a plan or layout to your case, use the Backup Entire Plan/Layout
 tool to save a copy of the file along with all associated image files in their own folder.
For instructions on using this tool, please see the Related Articles section below.
- After using Backup Entire Plan/Layout Tool
 , save your work and exit out of Chief Architect or Home Designer.
- In order to upload a folder, it must be compressed/zipped.
- To create a compressed/zipped file or folder, right-click on it choose Send to> Compressed (zipped) Folder on Windows or right-click and choose Compress "Folder name" on Mac.
On a Mac, hold down the Control key while clicking to initiate a right-click command. More information about right-click commands on Apple input devices can be found in the following Apple resource: Right-click on Mac.
- We recommend compressing all large files before attaching them to make the upload process quicker, and to protect the integrity of the original file while it's being uploaded and downloaded.
- To create a compressed/zipped file or folder, right-click on it choose Send to> Compressed (zipped) Folder on Windows or right-click and choose Compress "Folder name" on Mac.
- Once the file is ready to be attached to your case, click the Browse button near the bottom of the form.
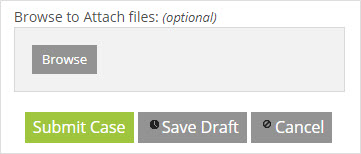
- In the Open dialog:
- Navigate to the location of the file you wish to attach to your case.
- Click on the name of the file to select it and click the Open button to attach it.
- If the file being attached is large in size, you may see a progress bar appear. Once the file is successfully attached, it will appear below the Browse button and display the file size along with a Delete button.
- Navigate to the location of the file you wish to attach to your case.
- Confirm that all fields in your Technical Support Center case are filled in and click the Submit Case button at the bottom of the form.
To close a support case
- Locate and access the case that you would like to close.
Note: Cases located in the Submitted category will have a status of 'open' and are awaiting a response from Chief Architect Technical Support. Cases in this state cannot be closed.
Cases located in the Answered category will have a status of 'answered' and will contain a response from Chief Architect Technical Support. You can choose to either reply or close a case that is in this state.
Cases located in the Completed category are considered closed.
- Close a case using one of the following methods:
- Click on the Subject line for a case marked as 'answered,' then click on the Close Case button on the next page that appears.
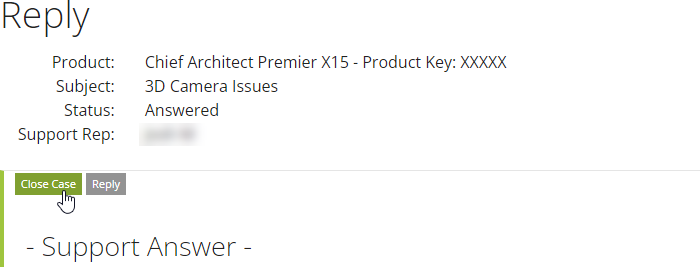
- Access the Answered category, check the box next to one or more cases, then click on the Mark Complete button. A message will display stating: " Are you sure you want to move the selected case(s) to the Completed folder?" Click OK to proceed.

- Click on the Subject line for a case marked as 'answered,' then click on the Close Case button on the next page that appears.
Once a case is closed, it will be moved to the Completed category.