Customizing Driveway and Sidewalk Materials
The information in this article applies to:

QUESTION
I would like to design a custom driveway with stained, stamped concrete. How can I do this?

ANSWER
You can create a unique design for your driveway using multiple terrain features and different materials from the library.
It is increasingly common to stamp a texture into concrete driveways, sidewalks and patios.
To customize a driveway material
- Select Terrain> Road and Sidewalk> Driveway Area
 from the menu, then click and drag to draw a rectangular terrain feature.

Do not worry about the exact placement or shape of the driveway as you draw it: once it is created, it is fully editable.
Note: If the Driveway Area tool appears to be grayed out, then a terrain perimeter has not been created. Go to Terrain> Create Terrain Perimeter to create a flat terrain.
- When the driveway is positioned and shaped as needed, select 3D> Create Camera View> Perspective Full Overview
 from the menu to see the results.
In Home Designer Pro, navigate to 3D> Create Perspective View> Perspective Full Overview instead.
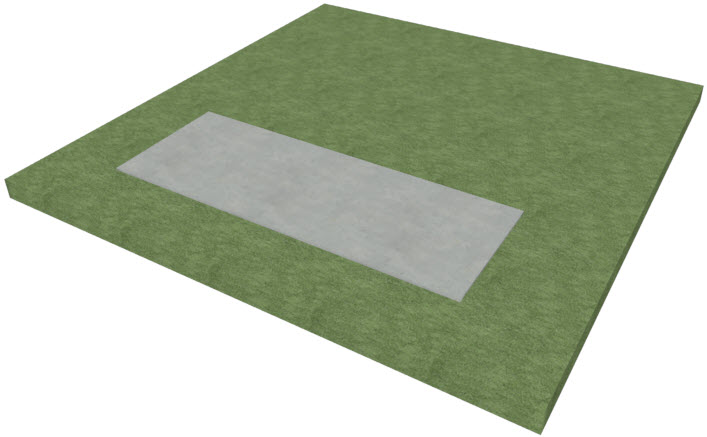
- By default, driveways are assigned a grey concrete material. If you want to, you can select 3D> Material Painter> Material Painter
 from the menu to apply a new material.
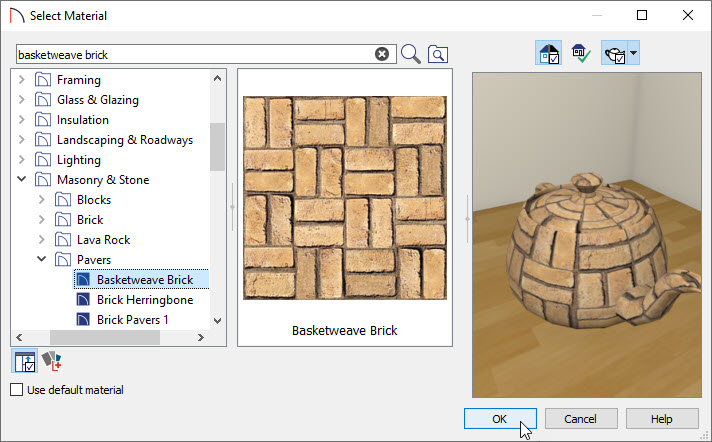
- In the Select Material dialog which appears next, browse the Materials library and select a new material for the driveway.
- Good candidates for driveway materials can be found in the Masonry & Stone and Landscaping categories. Brick, pavers and slate are among the textures that work well to represent stamped concrete.
- When you have found a material, click on it to select it, then click the OK button to close the dialog.
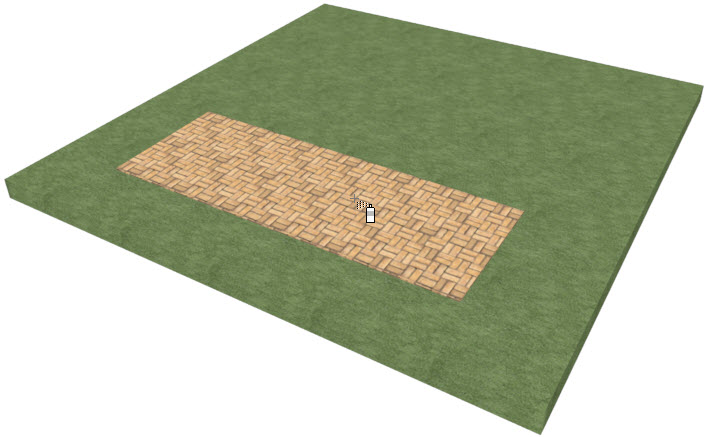
- In this example, Masonry & Stone> Pavers> Basketweave Brick is used.
- Good candidates for driveway materials can be found in the Masonry & Stone and Landscaping categories. Brick, pavers and slate are among the textures that work well to represent stamped concrete.
- When you move your cursor into the 3D view, it will display a spray can icon. Click on the driveway to apply the selected material to its surface.
Many concrete contractors offer a variety of concrete stains. To apply a color to a material such as concrete, use the Blend Colors with Materials tool.
To stain a concrete material
- With the 3D overview still active, select 3D> Material Painter and make sure there is a checkmark beside Blend Colors with Materials
 . If there is not, select this item from the submenu.
- Select 3D> Material Painter> Material Painter from the menu.
- In the Select Material dialog, browse and select a solid color from the library.
- Solid colors are available in Materials> Colors.
- When you have found a satisfactory color, select it and click the OK button to close the dialog.
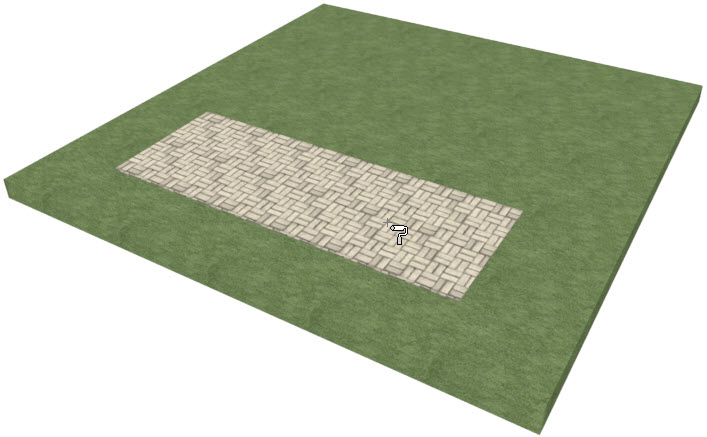
- In this example, Materials> Colors> Generic Colors> White/Neutral> Color - Beige is used.
- Solid colors are available in Materials> Colors.
- When you move your cursor into the 3D view, it will display a paint roller icon. Click on the driveway to apply the selected material to its surface. Instead of replacing the pavers material with the solid color, the two are blended.
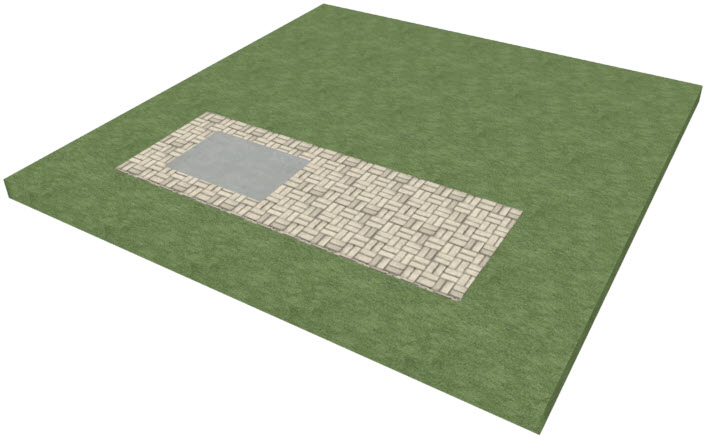
To create a custom pattern
A wide variety of driveway designs can be created by combining stamped patterns and stains. You can produce your own unique design using multiple Driveway objects.
- Click the Window drop-down menu and select your plan's floor plan view from the bottom of the menu to return to that view.
- Select Terrain> Road and Sidewalk> Driveway Area from the menu, then click and drag a second driveway object inside the first.

- Select this second driveway and click the Open Object
 edit button.
- On the General panel of the Terrain Feature Specification dialog, specify the Height as 1 1/16", then click OK.
This will raise the top surface of this object above that of the larger Driveway so it can be clearly seen.
- Select the Window menu and return to your 3D overview to see the results.
- Use the Material Painter and/or Blend Colors with Materials tools to apply a custom material to this driveway object.
- Just as in floor plan view, you can edit the shape and position of the second Driveway in a 3D view using its edit handles.
- Repeat steps 1 through 5 as needed to create a custom pattern.

You can now use these tools to create custom driveway surfaces for your own designs.