Duplicating Another Floor
Reference Number:
KB-00997
Last Modified:
July 21, 2021
The information in this article applies to:

QUESTION
I designed a floor plan, complete with fixtures, that must be duplicated on multiple levels of my project. What is the best way to do this?
ANSWER
In some situations, such as apartments, condos, or hotels, the floor plans on multiple floors will be nearly identical. While the Derive new floor plan from the 1st floor plan option will copy the layout of exterior walls, other objects like doors, windows, cabinets and fixtures, will not be duplicated.
It is possible to duplicate all objects on a floor using the Edit Area tool(s).
To copy a floor plan to another level
- Begin by choosing to Open
 the plan in which you would like to duplicate an entire floor.
- Create a new floor by selecting Build> Floor> Build New Floor
 .
.
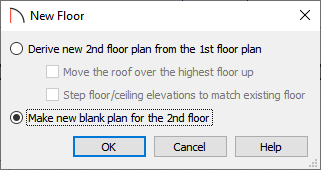
- In the New Floor dialog, select the Make new blank plan for the 2nd floor option, then click OK.

Note: Home Designer Pro and Home Designer Architectural are limited to a maximum of five floors, plus a foundation level, while Home Designer Suite is limited to three floors.
- In the Floor Defaults dialog that displays next, specify the properties to your liking, then hit OK.
- After the new, blank floor has been created, return to the floor where you want to copy content from and select Edit> Edit Area> Edit Area
 .
.
In Home Designer Pro, there are four options to choose from:
-
 Edit Area - selects all objects in the selection box, displayed or not, located on the current floor.
-
 Edit Area Visible - selects all visible objects on the current floor but ignores those that are not displayed.
-
-
 Edit Area (All Floors) - selects all objects in the selection box, displayed or not, located on all floors.
-
-
 Edit Area (All Floors) Visible - selects all visible objects located on all floors but ignores those that are not displayed.
-
- With the Edit Area
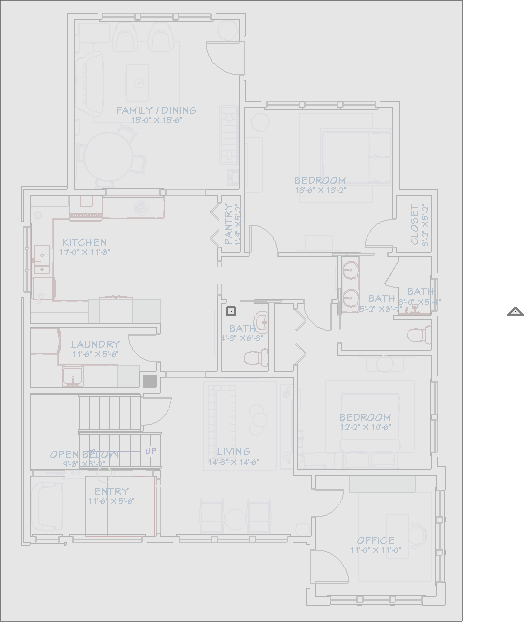
 tool selected, click and drag in floor plan view to draw a selection box around the contents that will be duplicated.

- Select Edit> Copy
 from the menu.
- Return to the level the floor plan will be copied to (in this case the newly created blank floor), and select Edit> Paste> Paste Hold Position
 from the menu.