Using the Create Walkthrough Path Tool
Reference Number:
KB-01045
Last Modified:
July 21, 2021
The information in this article applies to:

QUESTION
I need to record a video tour of my plan. How can I do this?

ANSWER
The Create Walkthrough Path tool allows you to record a video going through your structure slowing and panning at key points to create that perfect presentation.
To draw the Walkthrough Path
- From a floor plan view, select 3D> Walkthroughs> Create Walkthrough Path
 .
.
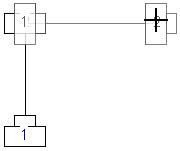
- Click and drag to draw the walkthrough path in your floor plan view in the direction you want.

- Next, move the mouse cursor over the camera symbol on the end of the line segment then click and drag a second segment.
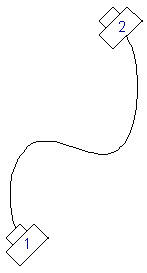
- When the mouse button is released, the segments will convert into a spline.

- Continue adding segments to the spline until you have completed the path you want to create.

To modify the path
- Click the Select Objects
 tool, then click on the spline to select it. Notice the edit handles of the segments drawn.
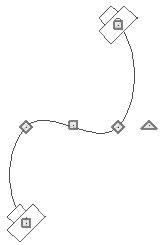
- To smooth out the curves, or to get more control over the shape of the path, use the Break Line
 Edit tool to add additional edit handles.
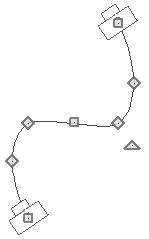
When a walkthrough path stops at the bottom of a set of stairs, it will automatically extend the path up, or down, the stairs to the next floor, where you can continue the path through the next floor's rooms.
To add Key Frames
- With the walkthrough path selected, click the Add Key Frame
 edit tool, and then click on the walkthrough path to place a key frame at that location.
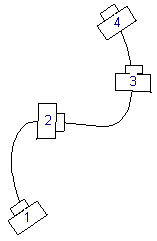
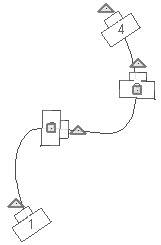
- By clicking the camera icon on the path, or by clicking the Edit Key Frames
 button while the path is selected, you can modify the location of the key frames along the path, or the direction the key frames are pointed. Click and drag the square edit handle to move the key frame or the triangle to rotate it.
- With the walkthrough path selected, click the Open Object
 edit tool to open the Walkthrough Path Specification dialog. The General panel of this dialog allows you to set:
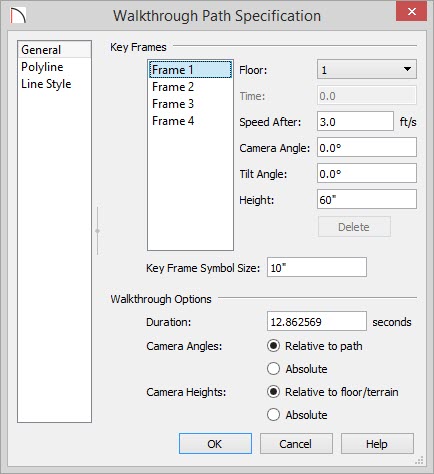
- The Floor that the selected Key Frame is located.
- The Time in seconds at which the selected Key Frame is found in the duration of the walkthrough. Frame 1 is always at 0.0 and cannot be moved.
- The Speed After each key frame, which is how fast the camera moves along the path from the current Key Frame to the next.
- The Camera Angle at the selected Key Frame.
- The Tilt Angle of the camera at the selected Key Frame.
- The Height of the camera at the selected Key Frame.
- The Floor that the selected Key Frame is located.
- Click OK when you have finished making modifications to apply them and close the dialog.
To record the walkthrough
- With the Walkthrough Path selected, click the Record Walkthrough Along Path
 button on the Edit Toolbar.
- The next dialog that opens is the Walkthrough Options dialog.
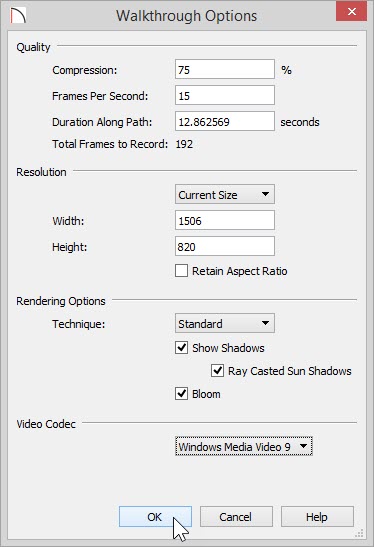
- Specify a Compression percentage between 0 and 100. A value of 0 gives the highest quality images and largest file sizes. 75% is recommended.
- Specify the desired number of Frames Per Second, between 1 and 100. A higher number results in a higher quality recording but also a larger file. 25-30 is recommended for Frames Per Second.
- Specify a Duration Along Path in seconds.
- The Total Frames to Record displays for reference and equals the Frames Per Second multiplied by the Duration Along Path.
- Specify resolution settings.
- From the drop down list, select the Rendering Options Technique you would like the walkthrough to use.
- Specify a Compression percentage between 0 and 100. A value of 0 gives the highest quality images and largest file sizes. 75% is recommended.
- Choose your settings then click OK.
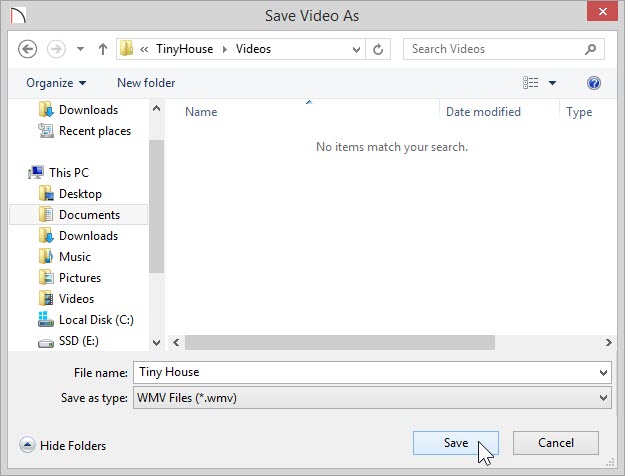
- Give your video file a descriptive name and choose an easy to find location to save the file and then click Save.
To play a walkthrough
- Select 3D> Walkthroughs> Play Walkthrough
 to open the Select Video File dialog.
- Browse to the file saved on your computer and click Open. Your default video application will open and play the walkthrough video.
Note: If you experience trouble playing a recorded walkthrough, consider recording using a different Video Codec. The Video Codec can be specified in the Walkthrough Options dialog. If using a previous version, please review article "Specifying What Video Codecs to use for Walkthroughs" linked below.
Related Articles