Building a Multi-Level Deck
Reference Number:
KB-01240
Last Modified:
January 28, 2025
This article also applies to the following legacy products:
Pro | Architectural | Suite
Pro | Architectural | Suite
QUESTION
I would like to build a deck with multiple levels. How do I do this?

BEFORE YOU BEGIN
In order to make this design successfully, you may want to learn about creating a sloped landscape for your terrain. For more information on that process, please see the "Modeling a Sloping Terrain for a Walk-out Basement" resource in the Related Articles section.
ANSWER
In this example, we will be begin by creating a structure that is 45' x 30' in size.
With the structure built on a sloping terrain, decks can then be added to the design.
To build multi-level decks
- Navigate to Build> Railing and Deck> Straight Deck Railing
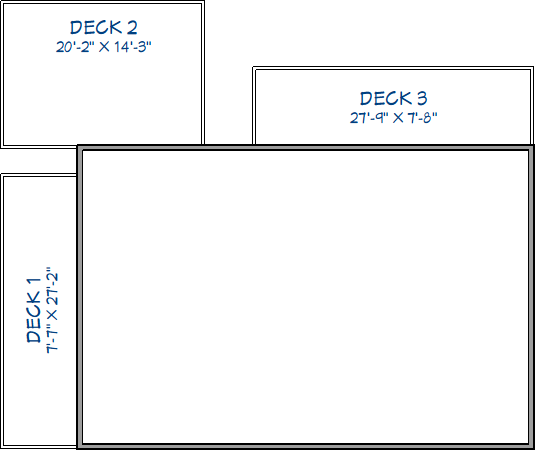
 , then click to drag out deck railings, creating several decks as shown in the image below.
Note: Be sure to keep all three decks that will be created in this example completely separate from one another.
- Once your decks have been placed, use the Select Objects
 tool to click inside of the room that makes up Deck 2, then click the Open Object
  edit button.
- On the Structure panel of the Room Specification dialog that displays, set the Floor height to -21" and click OK.

- Next, select Build> Stairs> Straight Stairs
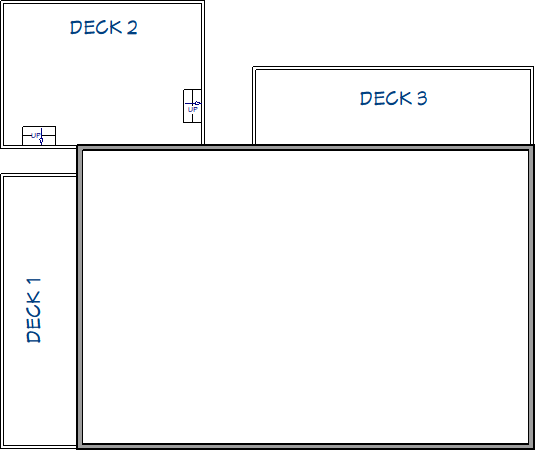
 and click where the different decks would meet.
In this example, two separate staircases have been created on Deck 2, as shown in the image below.
- Now, use the Select Objects
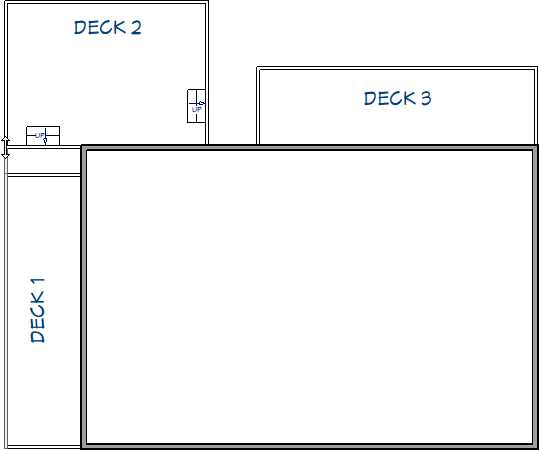
 tool to select the long, vertical deck railing on Deck 1, and lengthen it using its edit handle until it meets up with Deck 2.
- Next, Select
 and Delete
  the small, horizontal railing that originally was the top-most part of Deck 1.
- Lengthen the long, horizontal railing that is part of Deck 3 until it connects to Deck 2.
-
Select
 and Delete
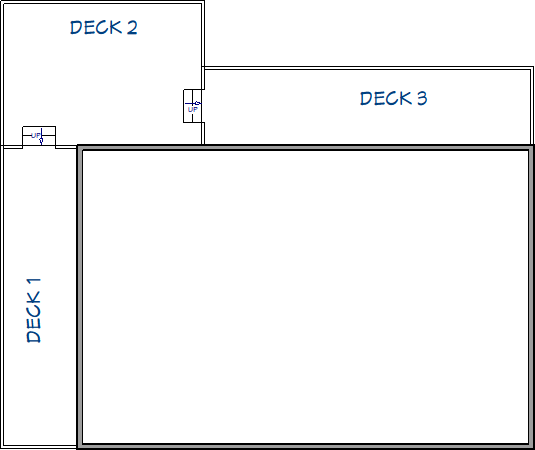
  the small, horizontal railing that originally was the left-most part of Deck 3. Your plan should now look similar to the image below.
- Use the Select Objects
 tool to select each of the stair sections, then adjust their width so that they span the width of the deck(s), as shown in the image below.
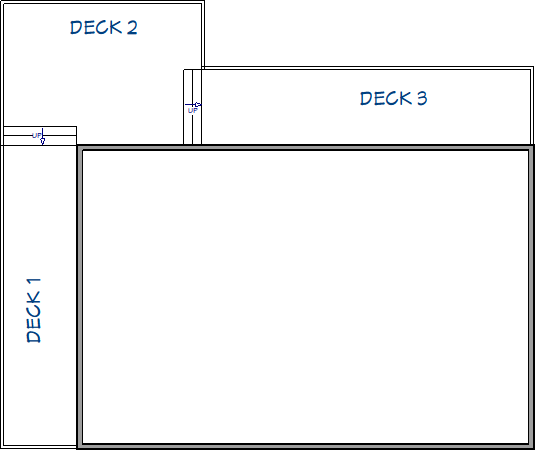
You are now ready to continue customizing the design, or take the information that you have learned in this article and apply it to your own plan.
Related Articles