Resizing a Layout Title Block and Border in Home Designer
Pro
QUESTION
I have a layout that meets my needs, but would like to make a copy using a different page size. I don't want to have to redraw the entire title block and border from scratch - is there an easier way?
ANSWER
In Home Designer 2026 and newer, as well as Home Designer 2025 and prior, a layout title block and border can be selected and resized.
To resize a title block and border
- Access the layout file that you would like to assign a different page size.

- Select File> Print> Drawing Sheet Setup
 from the menu to open the Drawing Sheet Setup dialog for the current layout file.
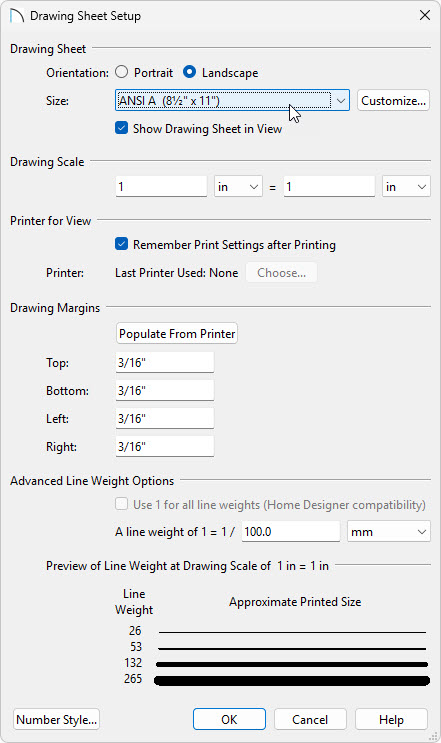
- Specify the desired Drawing Sheet Orientation and Size.
In this example, the Size is changed to ANSI A (8.5" x 11") or letter size.
- Make sure the Drawing Scale is set to 1 = 1.
- Click OK.
-
If you do not see a white rectangle surrounded by a grey background when you zoom out, select View> Drawing Sheet
 from the menu.
Note: For best results, make sure that the Printer Paper and Drawing Sheet have the same Size and Orientation. This will result in one printed page per sheet, as noted under the preview diagram on the right side of the dialog. The Printer paper size and orientation is specified on the Print View/Layout dialog. Select File> Print> Print to view this dialog.
- Specify the desired Drawing Sheet Orientation and Size.
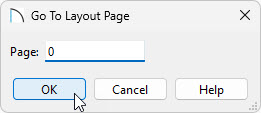
- Starting with Home Designer Pro 2023, layout files consisting of up to 5 pages can be created. With multi-page layouts, it's ideal to modify the title block and border on Page 0 of the layout, as this is considered a layout template page. Everything that is generated on a layout template page will be replicated on each additional page of the layout. Navigate to Page 0 by clicking on the Page Down
 tool on the toolbar until the current page is 0, or navigate to Tools> Layout> Change Layout Page, enter 0, then click OK.
In Home Designer 2022 and prior versions, layouts only consisted of a single page.
- Using the Select Objects
 tool, click and drag a selection box around the title block area. This will group select the title block and border, which is made up of CAD and text.

- At the top of the selected area is a small, round resize handle. Grab and drag this handle to scale the entire selection up or down in order to fit within the designated Drawing Sheet area.

- If the rotate handle obscures the resize handle, zoom in or out until it becomes visible.
- If you experience difficulty with the layout border snapping to the edge of the Drawing Sheet, hold the Ctrl or Command key on your keyboard to temporarily disable snapping while positioning.
- If the rotate handle obscures the resize handle, zoom in or out until it becomes visible.
- If necessary, use the move handle in the center to re-position the selection on the Drawing Sheet, or use File> Print> Center Sheet
 to ensure it centers properly on the Drawing Sheet.

The blue border represents the printer margins that are specified in the Drawing Sheet Setup dialog. Anything located outside of the blue border will not be printed.
Home Designer 2026 introduced custom templates, which provides the ability to use this configuration when creating new layout files. Once you've customized your layout it would be a good idea to save it as a template for future projects. Please see the Related Articles for more information.