Applying Wainscoting to a Wall
The information in this article applies to:

QUESTION
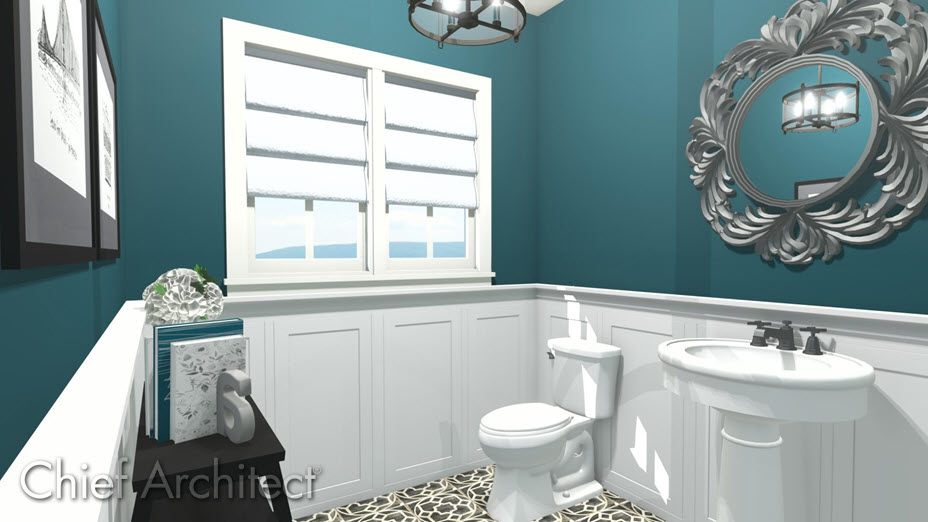
I would like to apply decorative paneled wall coverings, also known as wainscoting, to the lower portion of some of the walls in my plan. How can I accomplish this?

ANSWER
There are two different ways to apply wainscoting in your design:
*Applies to Home Designer Architectural and Home Designer Pro only
To place wainscoting panel symbols from the Library Browser
- First, launch your software program, and then choose to Open
 the plan in which you want to create the wainscoting, or start a New Plan
  .
.
- Next, select View> Library Browser
 to open the Library Browser if it's not already open.
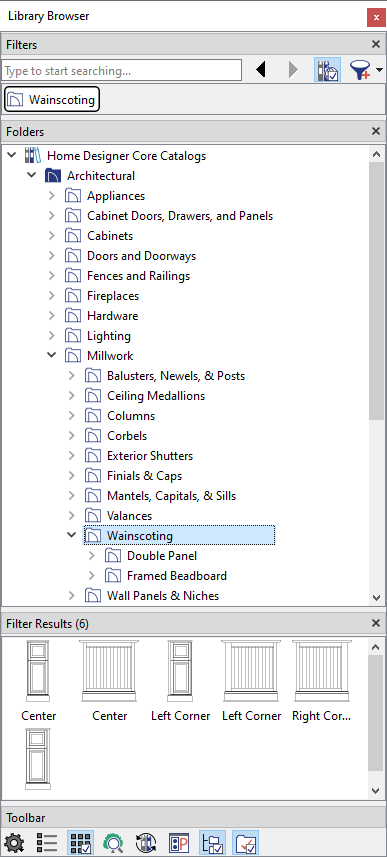
- Browse to Home Designer Core Catalogs> Architectural> Millwork> Wainscoting.
Note: Wainscoting can also be found in the New England Classic® manufacturer catalog.
For more information on downloading and accessing catalogs, please see the Related Articles section below.

- Select the type of panel you want to use, then click to place it in the plan up against the wall.
- Once placed, you can use the Select Objects
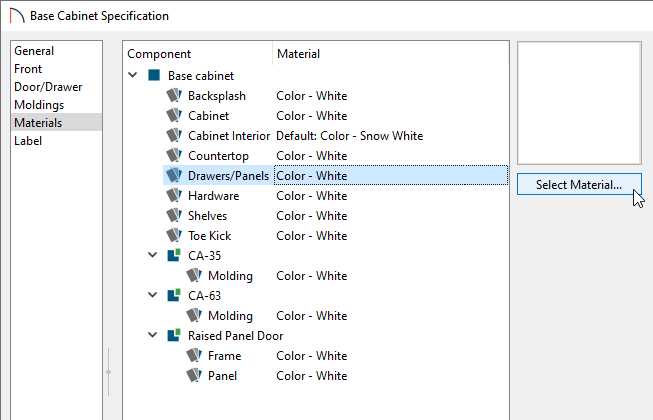
 tool to select the panel, which is a cabinet object, and make further modifications, such as moving it, or adjusting its size and materials as necessary in its Specification dialog.

You can also adjust these objects while in the camera view.
You may find it helpful to create a 3D Camera view of the area you are placing the wainscoting, then select Window> Tile Vertically so that you can see how the changes you are making in the 2D floor plan affect the 3D Display.
- Once you have one wainscot panel set up to the appropriate size and material that you want, you can use the Copy/Paste
 edit tool to create copies of the modified object and move them into place.
Select Home Designer products can also use the Wall Covering feature to apply the appearance of wainscoting between the chair rail and base moldings.
To use the Wall Covering feature*
*Applies to Home Designer Architectural and Home Designer Pro only.
- Using the Select Objects
 tool, click on the inside of a room to highlight it, then select the Open Object
  edit button.
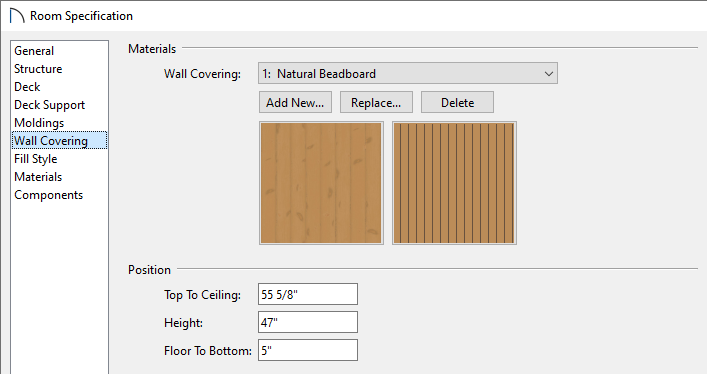
- On the Wall Covering panel of the Room Specification dialog, click the Add New button.
- In the Select Material dialog that displays next, browse to and select a material to use as wainscoting, then click OK.
In this example, we browsed to Home Designer Core Catalogs> Materials> Siding and Paneling> Beadboard> Natural Beadboard.
- Specify the Top To Ceiling, Height, and Floor To Bottom heights of the horizontal section that you would like to apply wainscoting to.

- Begin with the Height value, then press the Tab key on your keyboard to update the dialog without closing it.
- Next, specify either the Top To Ceiling or Floor To Bottom value, depending on which is the easiest for you to configure, then press the Tab key.
- You can select additional wall coverings by clicking the Add New button and repeating steps 3 and 4, above. Place different wall coverings at different heights so that they will all be visible and not cover one another.
- If you are not happy with your selection, the wall covering can be deleted by selecting it from the Wall Covering drop-down list, then clicking the Delete button. To replace a wall covering, select it from the drop-down list and choose the Replace button.
- When you are satisfied with your wall covering selections and their associated properties, click OK.
- Begin with the Height value, then press the Tab key on your keyboard to update the dialog without closing it.
- Create a Camera
 view to see the results.