Controlling Floor and Ceiling Heights
The information in this article applies to:

QUESTION
What is the best way to set floor and ceiling heights in my split level, or multilevel plan?
ANSWER
There are a few basic concepts to bear in mind when setting floor and ceiling heights in a plan, especially when creating a split level type design.
- You can set the ceiling height for an entire floor in the Floor Defaults dialog, then make any necessary changes on a room-by-room basis.
- Floor and ceiling heights can be altered at any time; but it's best to wait until you have created all the floors in your plan before changing individual rooms.
- You should finalize all floor and ceiling heights before building the roof.
To specify a default ceiling height
- Select Edit> Default Settings
 from the menu, and in the Default Settings dialog, expand the Floors and Rooms category, select Current Floor, then click the Edit button.
- In the Floor 1 Defaults dialog, select the structure panel, and specify the desired value for the Ceiling for the rooms on the first floor.
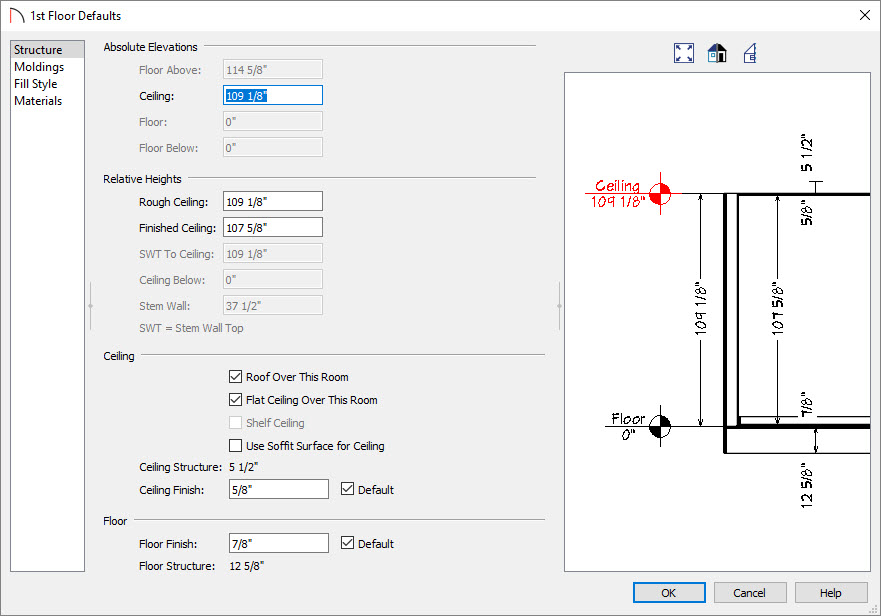
- Specify the height of the tallest ceilings on this floor, but ignore the ceiling heights of any rooms that will extend into the floor above, such as a vaulted entry area.
- For example, if your living room, dining room and kitchen will have 9' ceilings while a powder room and hallway will be only 8' high and the entry, 18' high, specify the default Ceiling as 9'.
- Click OK to apply these changes and close the dialog, then click Done to close the Default Settings dialog.
- Specify the height of the tallest ceilings on this floor, but ignore the ceiling heights of any rooms that will extend into the floor above, such as a vaulted entry area.
Now that you have set up your defaults, you are ready to begin drawing our basic plan.
To draw the basic plan
-
Click the Select Objects
 button, then click in a room select it.
- Click the Open Object
 edit button to open the Room Specification dialog, and on the Structure panel, notice that the default ceiling height that you specified is used. Click Cancel to close the dialog.
- Select 3D> Create Camera View> Doll House View
 to see the current floor in 3D.
In Home Designer Pro, navigate to 3D> Create Perspective View> Doll House View instead.
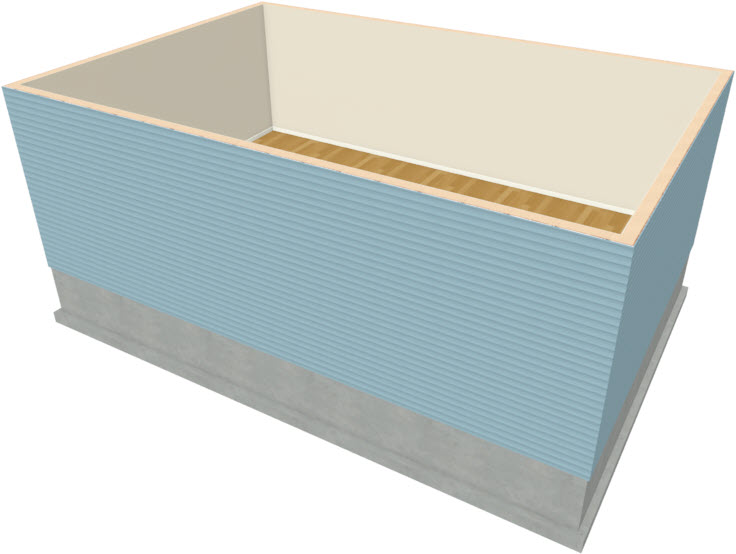
To raise a single room's ceiling height
While it is not recommended that you change a room's ceiling height when additional floors have yet to be created, we will do so in this example to illustrate how this change will affect the model. For this part of the tutorial, start a New Plan and create a basic rectangular structure.
- Select Build> Wall> Straight Interior Wall
 , and click and drag two walls to create three separate rooms.

- Click the Select Objects
 button, click in one of the rooms to select it, and click the Open Object
  edit button.
Starting in Home Designer 2022, you can hold down Ctrl/Command to select multiple rooms to modify simultaneously.
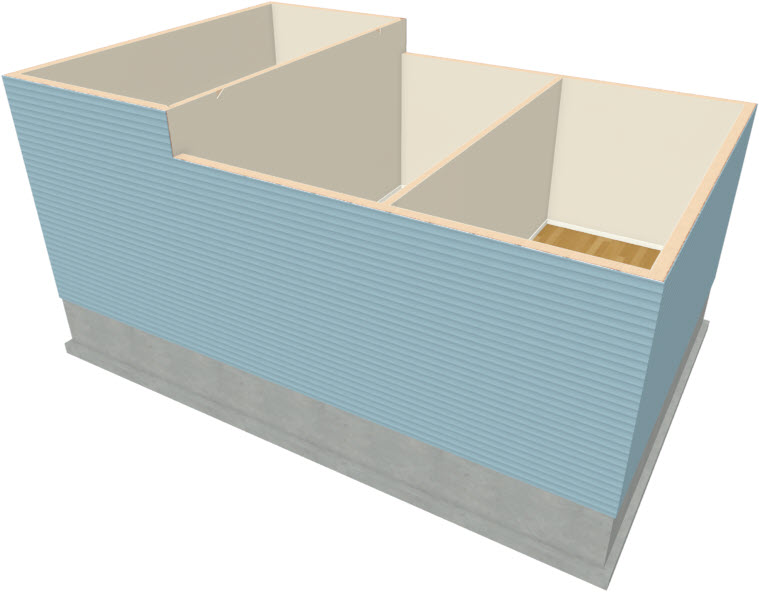
- On the Structure panel of the Room Specification dialog that opens, increase the Ceiling value.
For the purposes of this example, raise it to 11' (132").
- Select 3D> Create Camera View> Doll House View
 to see the results.
In Home Designer Pro, navigate to 3D> Create Perspective View> Doll House View instead.
To lower a single room's ceiling height
Again, you are changing ceiling heights only to illustrate the effect on the model.
- While still in the Doll House View, click the Select Objects
 button, click in a different room to select it, and click the Open Object
  edit button.
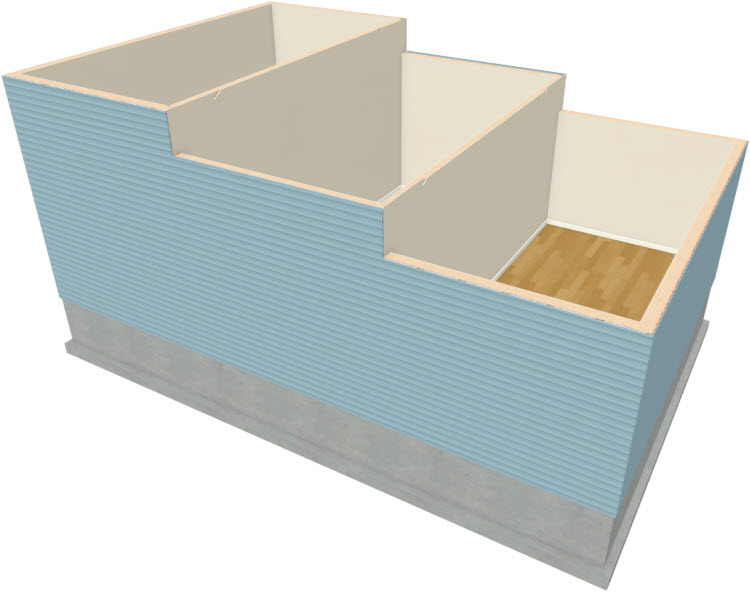
- On the Structure panel of the Room Specification dialog that displays, decrease the Ceiling value and click OK.
For the purposes of our example, we will set it to 7' (84").
- In a Doll House View
 , you can see how this change affects the walls.
To create a new floor
- Close the 3D view to return to floor plan view and select Build> Floor> Build New Floor
 from the menu.
- In the New Floor dialog, select Derive 2nd floor plan from the 1st Floor plan and click OK.
A new floor is created with exterior walls directly above those on the floor below.
- Go Down One Floor
 and create a Doll House View
  . Notice that the program has restored the default ceiling height to the rooms on this floor.
- Close the 3D view to return to floor plan view, then go Up One Floor
 to the new Floor 2.
- Just as on Floor 1, select Edit> Default Settings
 from the menu and open the Floor Defaults dialog for Floor 2.
- Specify the desired default Ceiling for Floor 2, then click OK.
- Specify the desired default Ceiling for Floor 2, then click OK.
To create a stepped floor platform
When all of your floors are in place with the correct default heights, you can make changes to individual rooms. In this example, we will raise the floor of a room on Floor 2 and increase the ceiling height of the room below as a result.
- Select Tools> Floor/Reference Display> Reference Display
 from the menu to turn on the Reference Display, which allows you to see the position of objects on the floor below by displaying them in red.
- Select Build> Railing and Deck> Straight Railing
 from the menu, then click and drag a railing over one of the interior walls on Floor 1.
- Click the Select Objects
 button, click on the railing to select it, and click the Open Object
  edit button.
- On the General panel of the Wall Specification dialog, check the box beside Invisible, then click OK.
- If an option to Align with Wall Below
 is available on the edit toolbar, click on it to align the walls.
- Click in the small room created by the railing and click the Open Object
 edit button.
- On the Structure panel of the Room Specification dialog, increase the value of the Floor Height and click OK.
- You can see the results by selecting 3D> Create Camera View> Camera
 from the menu and clicking and dragging a camera in the larger room towards the railing.
In Home Designer Pro, navigate to 3D> Create Perspective View> Full Camera instead.
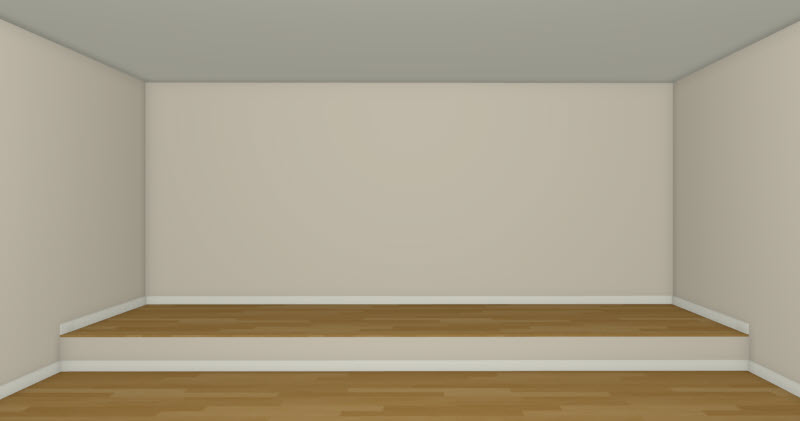
- If you return to floor plan view and go Down One Floor
 , you can open the Room Specification dialog for the room directly below the one with the raised floor and see that its Ceiling Height has been adjusted upward.