Creating Ceiling Beams
Reference Number:
KB-00161
Last Modified:
July 21, 2021
The information in this article applies to:

QUESTION
How do I create ceiling beams?

ANSWER
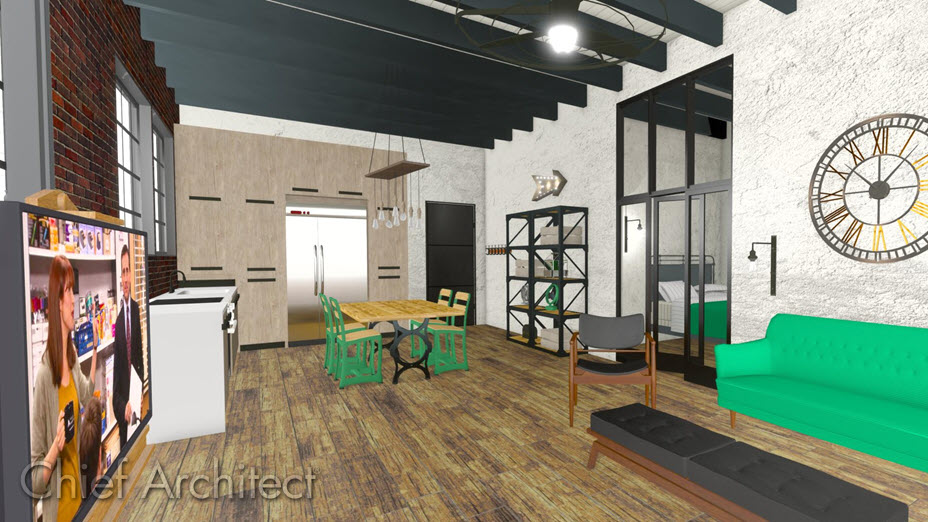
Ceiling beams can be simulated using soffits in Home Designer Suite and Home Designer Architectural. Home Designer Pro, however, has a dedicated Floor/Ceiling beam framing tool that can be used instead. For more information on placing beams in Home Designer Pro, please see the Related Articles section below.
Creating ceiling beams using soffits
- Select Build> Cabinet> Soffit
 , and click to place a soffit into a room where a ceiling beam is needed.
- With the Select Objects
 tool active, click on the soffit and use the various edit handles to extend and resize the soffit so it spans the length of the room.
- With the soffit still selected, click the Open Object
 edit button.
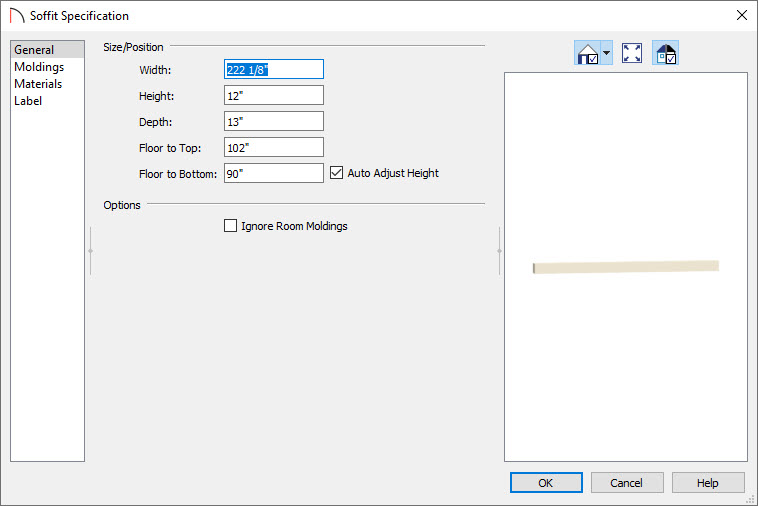
- In the Soffit Specification dialog that displays:
- On the General panel, edit the Width, Height, and Depth values to equal the desired size for the beam.

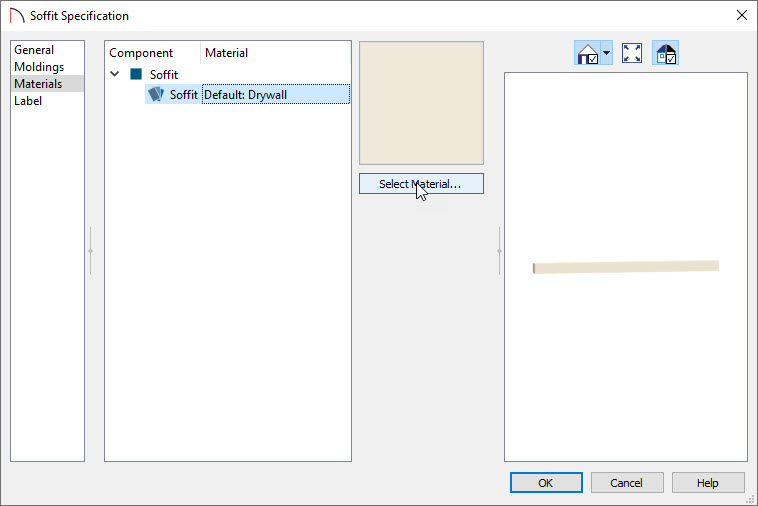
- On the Materials panel, select the Soffit component and then click the Select Material button.

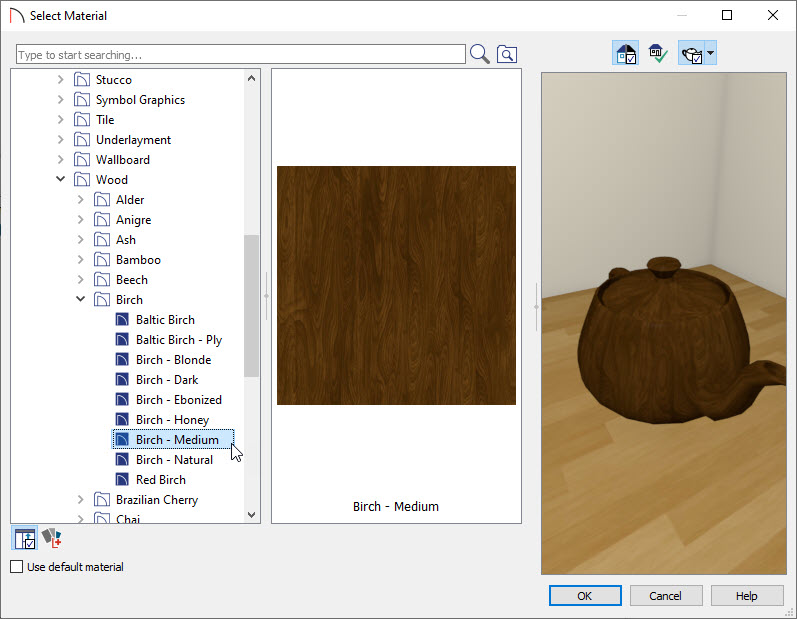
- In the Select Material dialog, browse to Materials> Wood, choose the desired wood grain for the beam, then click OK.

- Click OK to close the dialog and apply your changes.
- On the General panel, edit the Width, Height, and Depth values to equal the desired size for the beam.
- With the soffit still selected, click the Copy/Paste
 edit button.
- Click on the Sticky Mode
 edit tool to remain in and continue clicking to paste multiple copies of the selected object. Repeat this process as many times as you'd like.
- Once you have placed the appropriate number of soffits, click the Select Objects
 button, or tap the spacebar on your keyboard to cancel the Sticky Mode operation.
Note: Beams created in this manner cannot be placed higher than the height of the walls, or extend upward into the attic area.
- Create a Full Camera
 view to see your results.
Related Articles