Creating a Custom Pergola
The information in this article applies to:

QUESTION
I want to add a pergola, arbor, or trellis to my plan. How can I build my own custom pergola?

ANSWER
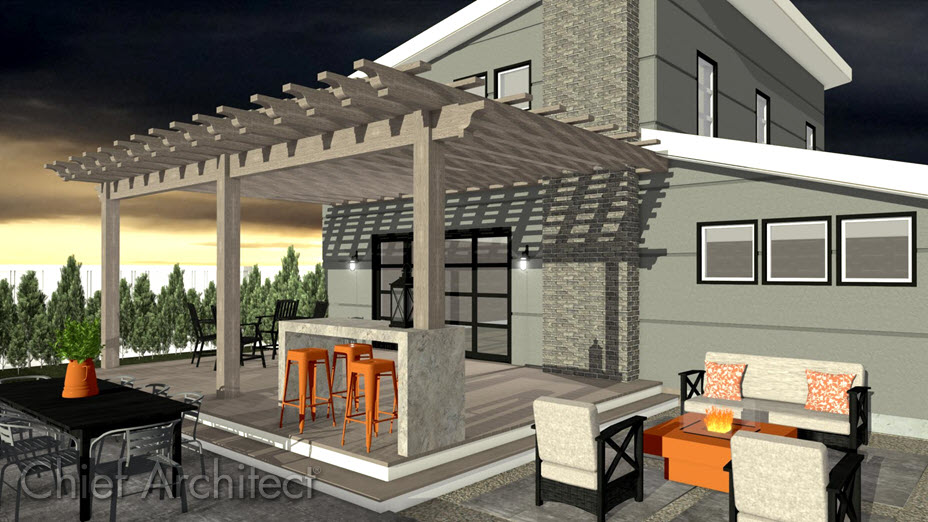
Creating a pergola similar to the one shown above is easy using the Soffit tool and corbel symbols from the Library Browser. However, if you're using Home Designer Pro, consider using the dedicated Framing tools instead.
To create beams
- First, launch Home Designer and Open
 the plan in which you want to create your pergola.
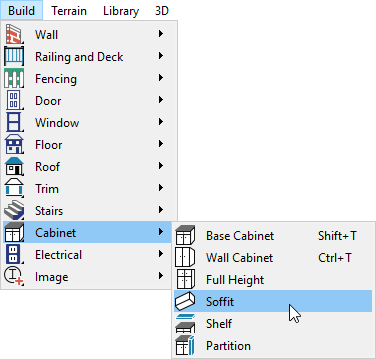
- Select Build> Cabinet> Soffit
 and click in floor plan view to place this rectangular object.
In Home Designer Pro, navigate to Build> Framing> Floor/Ceiling Beam , then click-and-drag to create a beam. If no floor or ceiling platform is detected where the beam is drawn, a message may display asking if you would like to create a general framing member instead. Click Yes.

- Using the Select Objects
 tool, click on the soffit or beam to select it, then select the Open Object
  edit tool to open the Specification dialog:
- On the General panel, set the dimensions and elevation information to your liking using the Width, Height, Depth, and Floor to Top/Bottom fields.
In Home Designer Pro, use the options under the Depth and Height heading to adjust the height of the beam, as well as the desired elevation. The Width, Role and Type of the beam can also be set here.
If you are unsure as to the dimensions that you want, or the distance from the floor that you need these first horizontal objects to be, you may find it helpful to take a Cross Section/Elevation or Camera view and adjust the object's dimensions and distance from the ground.
- Select the Materials panel and change the material of the soffit/beam to your choice.
- Click OK to apply the changes and close the dialog.
- On the General panel, set the dimensions and elevation information to your liking using the Width, Height, Depth, and Floor to Top/Bottom fields.
- To quickly create copies of the first initial soffit, use the Select Objects
 tool to select the soffit, then click on the Copy/Paste
  edit tool.
- Click on the Sticky Mode
 edit tool to create multiple copies by simply clicking in your plan to place copies of the original soffit until you have the number of copies that you want for this section of your pergola.
- Once you have placed your copies, select each one and move it into place.
You may also find it helpful to create a Manual Dimension line across them to help position them equally apart.
To create posts
- Use the same procedure mentioned above to create custom posts.
In Home Designer Pro, you can use the dedicated Post tool instead, which can be accessed by navigating to Build> Framing> Post
  .
.
- You can take a Cross Section/Elevation
 view or a Camera
  view to check the appearance of the soffits/posts.
- Use the same Copy/Paste
 and Sticky Mode
  procedure outlined above to create the necessary copies of these posts and then maneuver them into place.
To add details to the structure
- If you are creating a stand-alone pergola, or one attached to the house that will be held up by columns, these can be located in the Library Browser
 by navigating to Home Designer Core Catalogs> Architectural> Millwork> Columns.
- Also in this library category are Corbels, which can be resized and placed at the end of your beams.
-
Lattice materials can also be located in the Library Browser.
- To create the deck beneath this pergola, we used a combination of Deck Railings
 where we wanted the railing to display, and Straight Deck Edges
  where we did not require a railing.