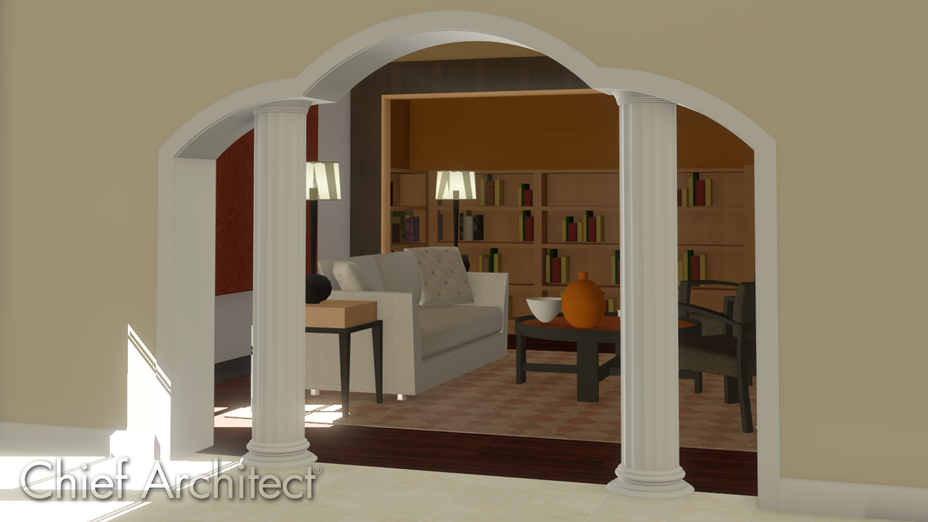
Placing a Column in a Doorway
Reference Number:
KB-00188
Last Modified:
August 26, 2022
The information in this article applies to:

QUESTION
I would like to place a column in a doorway, but it wants to snap to either side of the wall. How can I place columns in the doorway itself?

ANSWER
Placing a column in a doorway can be done by overriding the snapping behaviors using the Ctrl/Command key on the keyboard.
To place a column in the doorway
A doorway can be placed in your plan using the Doorway tool or using a doorway that is located within the Library Browser. For the purposes of this example, we will place use a doorway from the Library Browser.
- Select View> Library Browser
 to open the Library Browser side window if it's not already open, then navigate to Home Designer Core Catalogs> Architectural> Doors and Doorways> Doorways and Openings.
- Select an appropriate doorway, then click along a wall to place it in your plan.
You can modify a doorway's properties, such as the Width, Height, Casing, and more within it's Specification dialog.
- With the Library Browser still open, locate a column to place in your plan. These can be found by navigating to Home Designer Core Catalogs> Architectural> Millwork> Columns.
- Once an appropriate column has been selected, click in your plan near the doorway to place it.
- Using the Select Objects
 tool, select a column you've just placed.
- Hold down the Ctrl/Command key on your keyboard to temporarily override the snap settings, then use the Move
 edit handle to position the column into the doorway.
- Repeat this procedure for any additional columns that you would like to be in the same area as the doorway.
Related Articles