Placing and Modifying a Rug
The information in this article applies to:

QUESTION
I want to place a rug in my plan and change its material. How can I do that?

ANSWER
Placing a rug in your plan and then editing it to suit your needs is easy in Home Designer.
First, you need to place a 3D object symbol to represent the rug itself, and there are a selection of these already in the Library Browser. Once the rug is placed in your plan, you can change the material applied to it.
To place a rug, edit its size, and change its material
- Select View> Library Browser
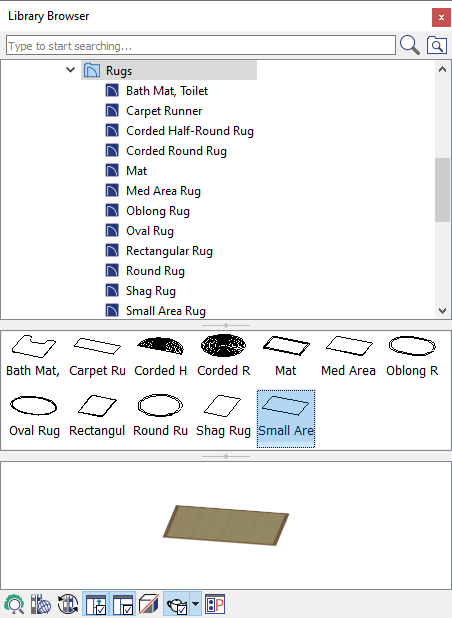
 from the menu and navigate to Home Designer Core Catalogs> Interiors> Accessories> Rugs.

-
Find the type of rug that you want to place in your plan, click on it to select it, then click in your floor plan to place it.
- Once you have placed the rug in your plan, use the Select Objects
 tool to select it, then click the Open Object
  edittool.
-
On the General panel of the Furniture Specification dialog that displays, specify the Width, Height, and Depth values to your liking.
Note: You can also adjust the Width and Depth of your rug using its edit handles in your 2D floor plan, or within a 3D camera view.
-
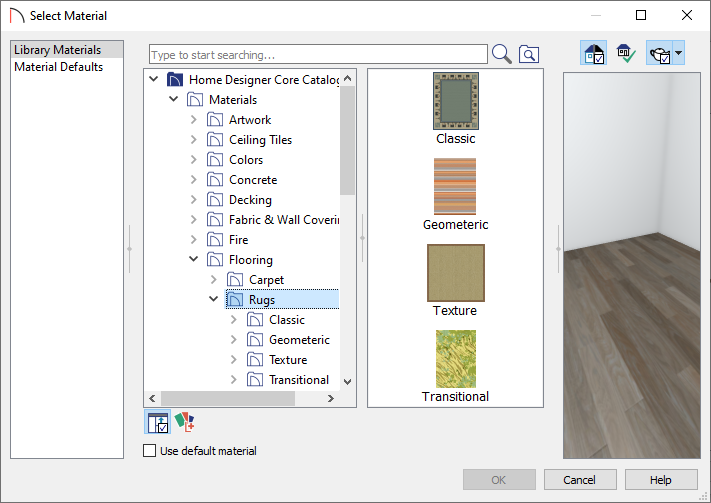
Go to the Materials panel, select the Main component, then click on the Select Material button.

-
Browse to Home Designer Core Catalogs> Materials, and choose your desired material.
While any material can be applied to a rug, there are a good selection of materials located in the Flooring> Rugs section.
-
Once you have found the material that you want to apply to your rug, click on it to select it, then click the OK button to close the dialog.
-
Browse to Home Designer Core Catalogs> Materials, and choose your desired material.
- Click OK to close the dialog and apply these changes.
- Take a Camera
 view to see the results.
Once you have a rug object placed in your plan, you can also use the Material Painter in a 3D camera view to change its material. If you use the Material Painter to apply a "rug" material to the floor, it will apply it instead to the entire flooring surface of the whole room.